
Love in the post: Heart confetti
It’s the time of year for sending love in the post. Spread joy and affection with heart confetti in bespoke envelopes, for anyone who could do with a thoughtful surprise.
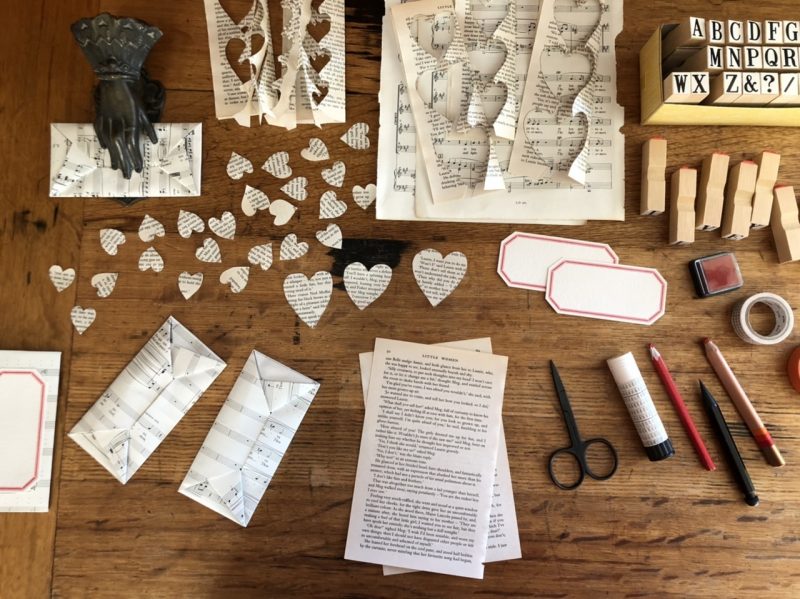
You’ll need:
- Paper: plain or coloured, book pages or map…
- Scissors
- Pencil
- Alphabet rubber stamps
- Ink pad
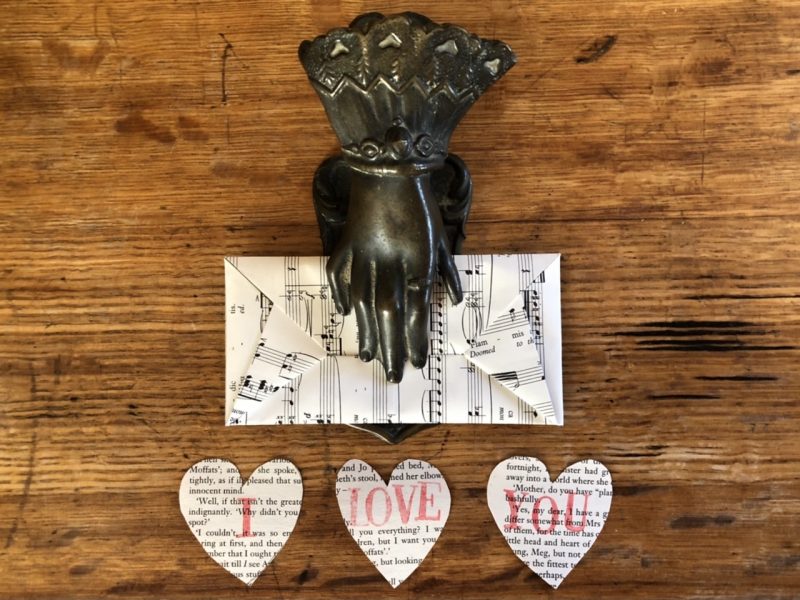
- A4 (or US Letter size) sheet of ‘nice’ paper for the envelope. I’ve used a page of sheet music
- Washi tape (optional)
- Address label, if the paper is too decorated to read
- Glue stick for the address label, if used
Step by step:
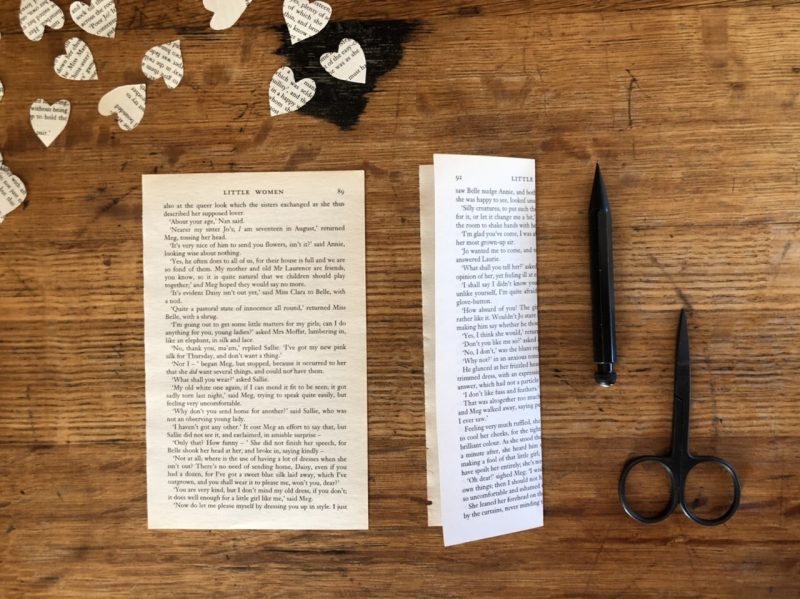
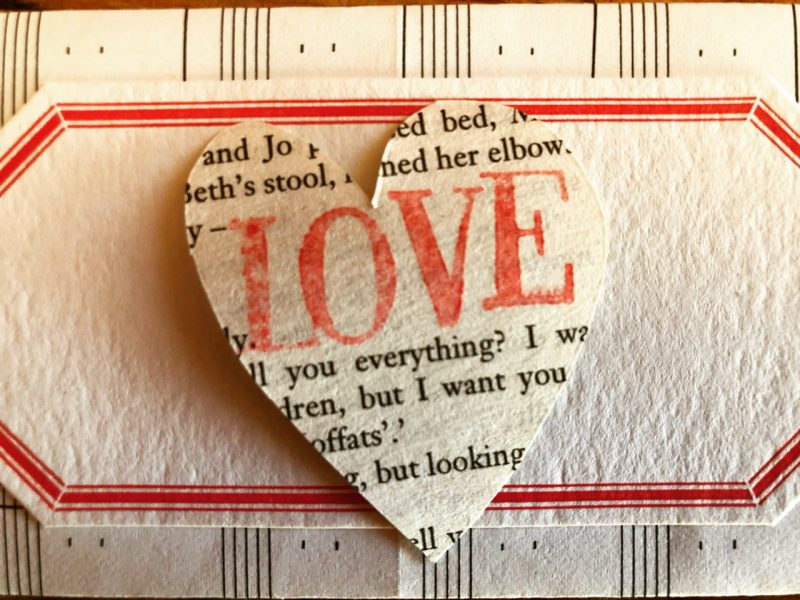
- Hearts first! I’ve torn a few pages from a falling-apart copy of a well-worn old favourite. Fold each sheet in half vertically (for medium-sized hearts) or in quarters for smaller hearts (as shown top left.)
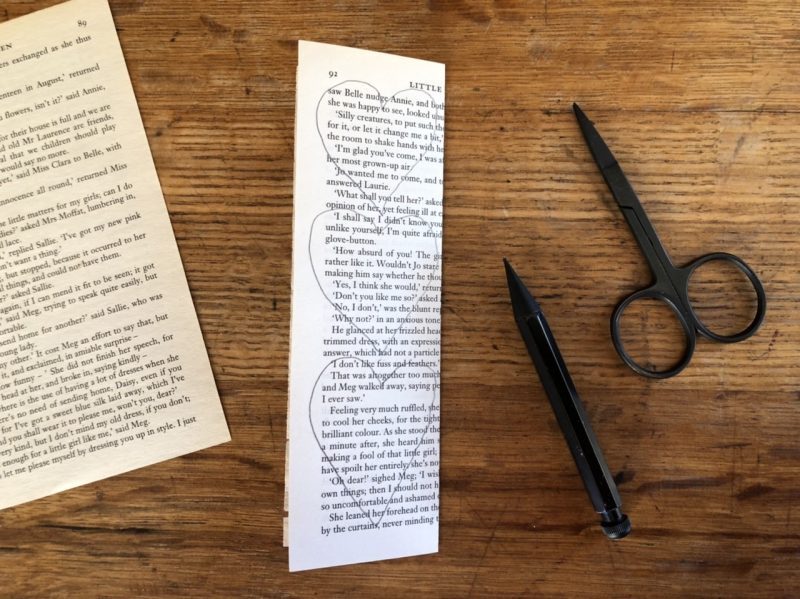
2. Draw full-bodies heart shapes in pencil.
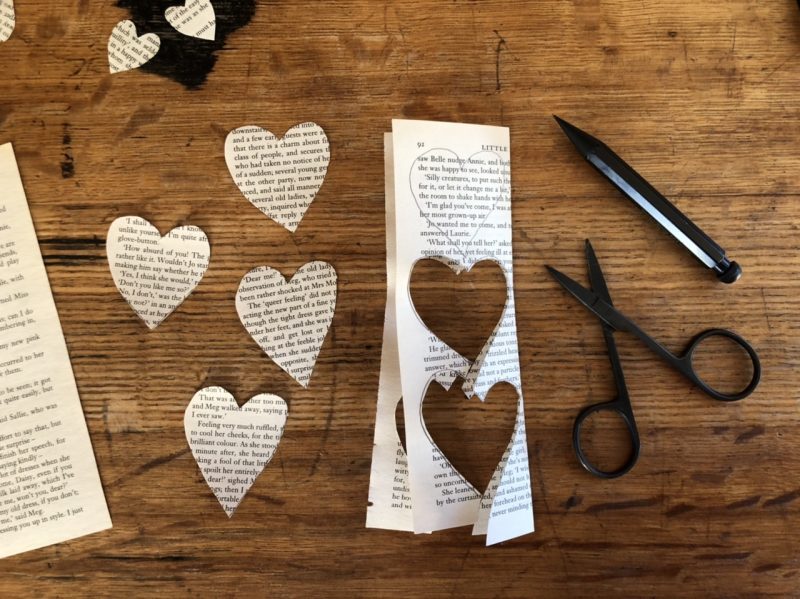
3. Cut out the hearts with snippy tiny scissors, if you have them. Or use a scalpel and save the left over shapes for another project.
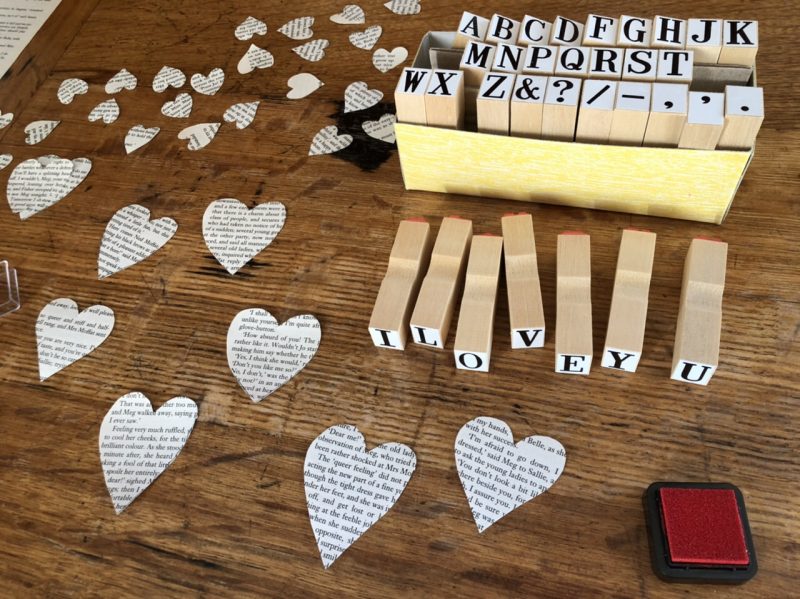
4. When you have enough hearts (When is enough?!) bring out your ink pad and rubber stamps.
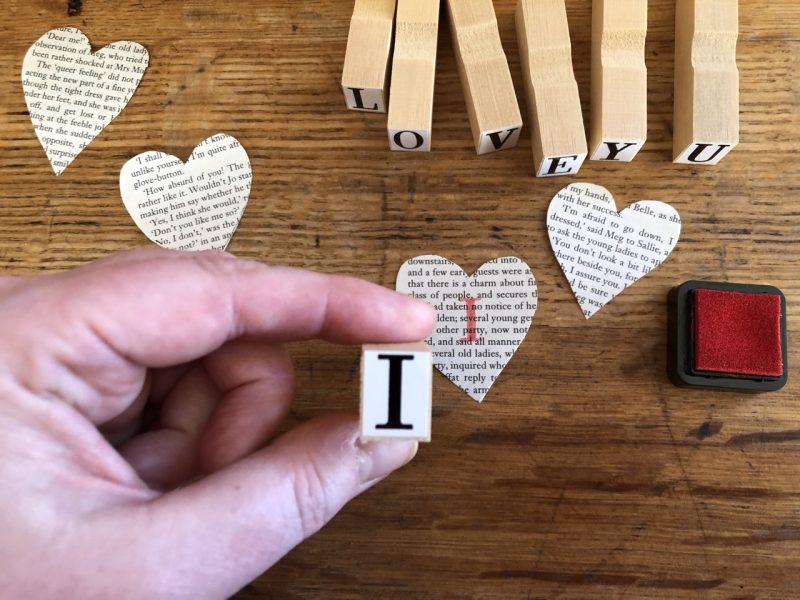
5. Get stamping.
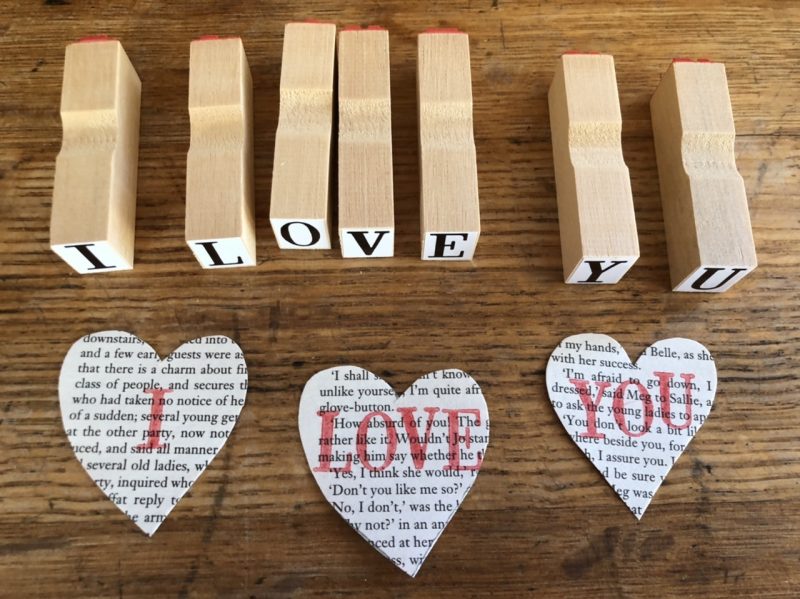
6. Don’t worry about wonky lettering….it’s the thought that counts.
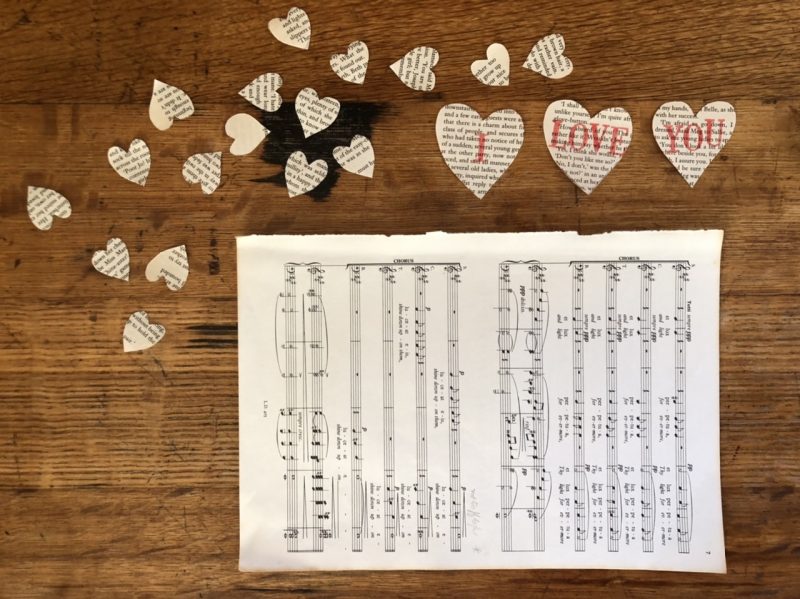
7. Now for the envelope!
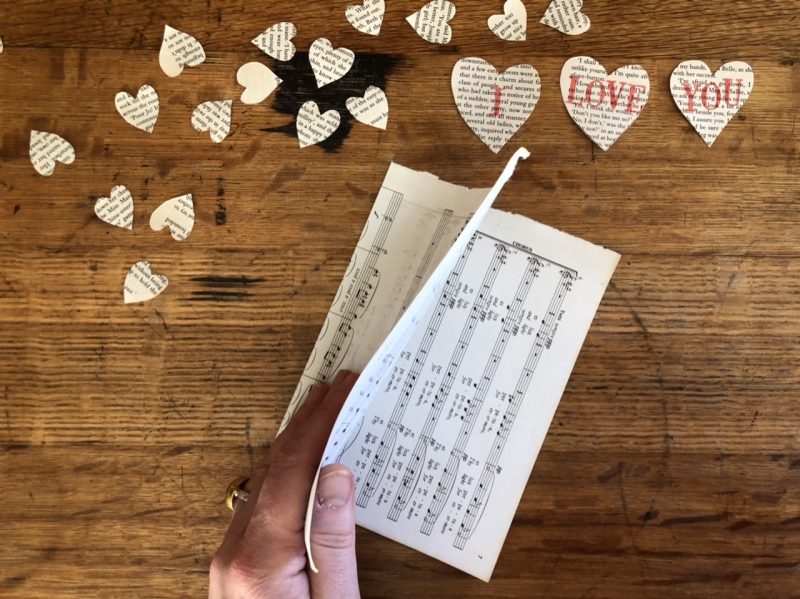
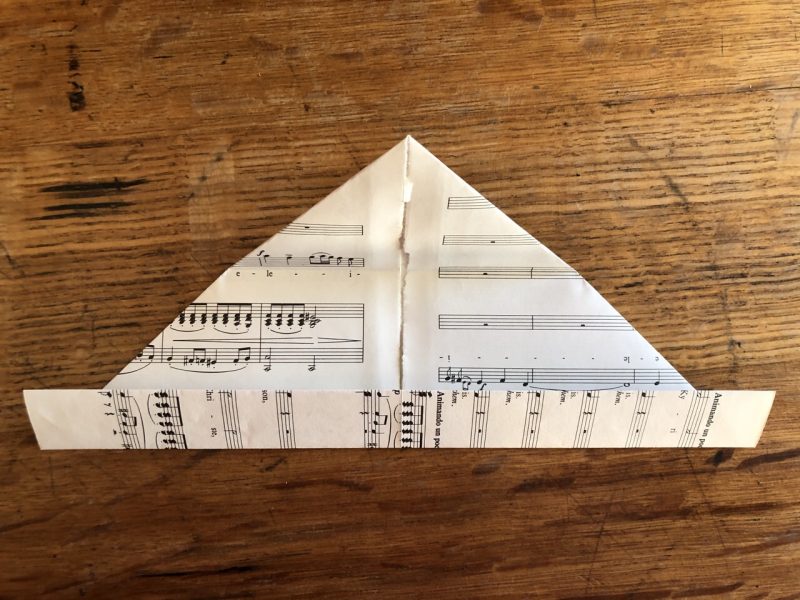
8. Fold the page in half width ways, and open out again.
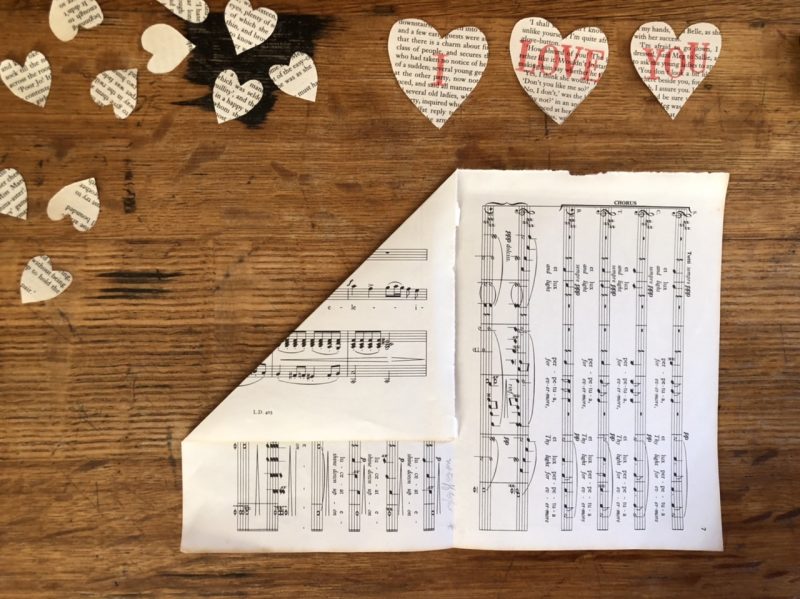
9. Fold the top left corner down to the centre line…..
10. ….And bring the top right hand corner down to meet in the centre.
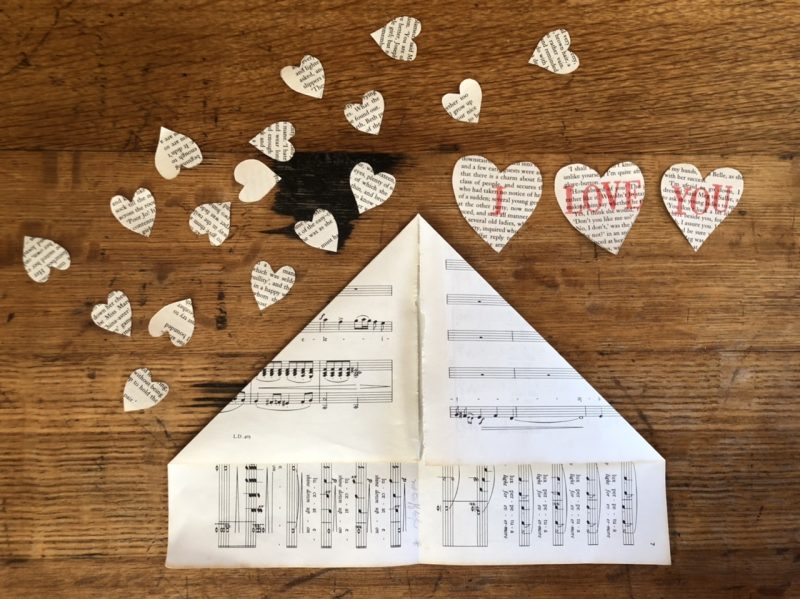
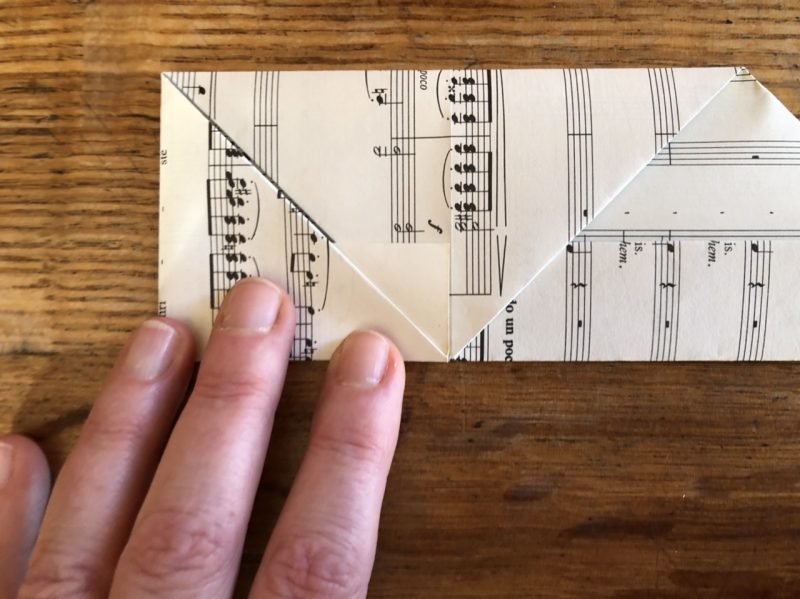
11. Fold the long straight bottom edge up to align with the bottom edge of the triangle.
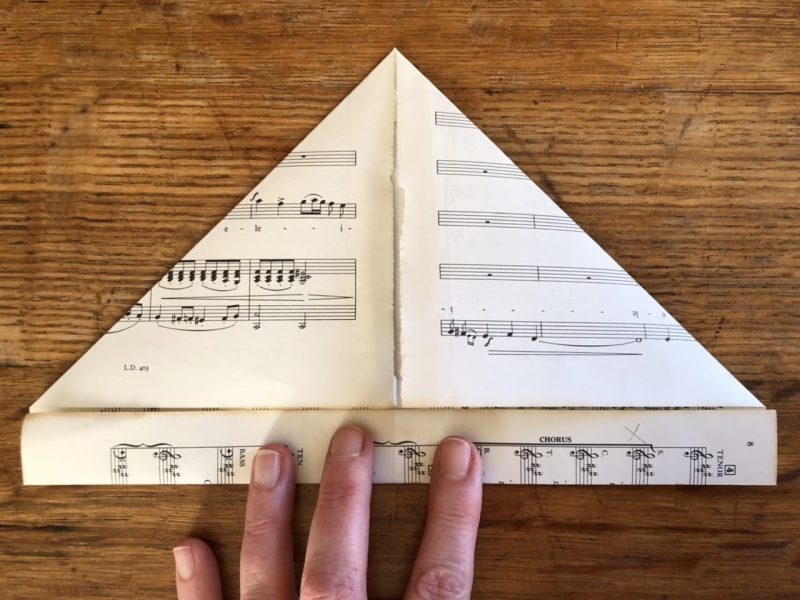
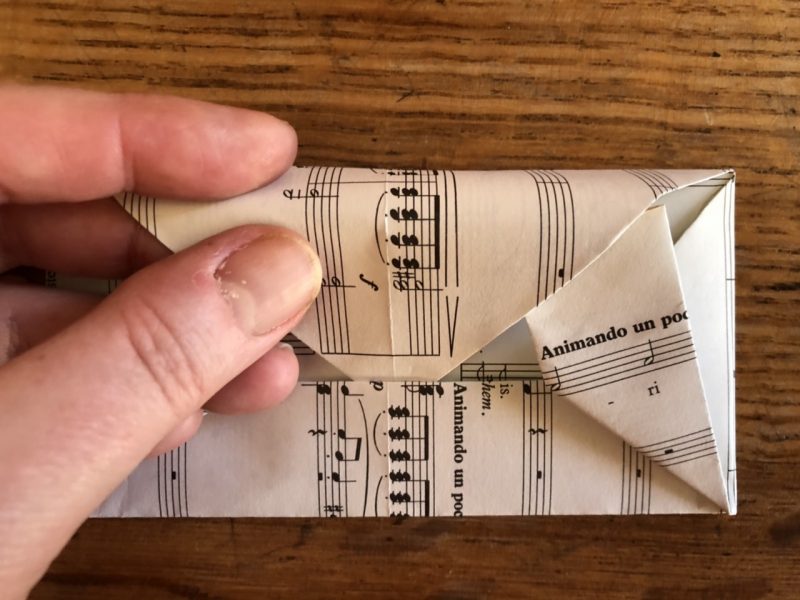
12. And then fold it over itself, nearly like a sailor’s hat, except it doesn’t open out at the bottom. Take the top point….

13. …and fold it down to touch the bottom edge.
14. Bring the left side of the envelope in to the middle.
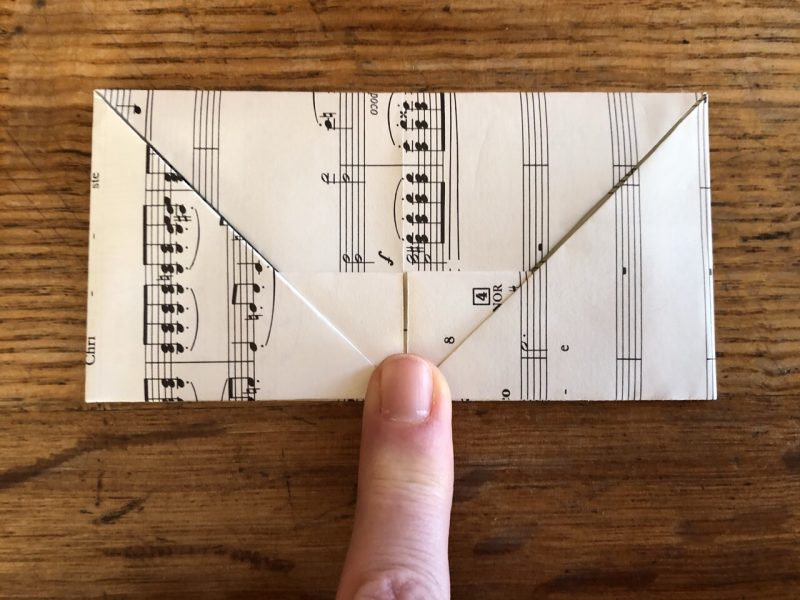
15. Repeat with the right hand side, so that they meet in the middle.

16. Fold each side up at an angle. The line should run from the bottom corner to where the side of the triangle and the bottom flap intersects.
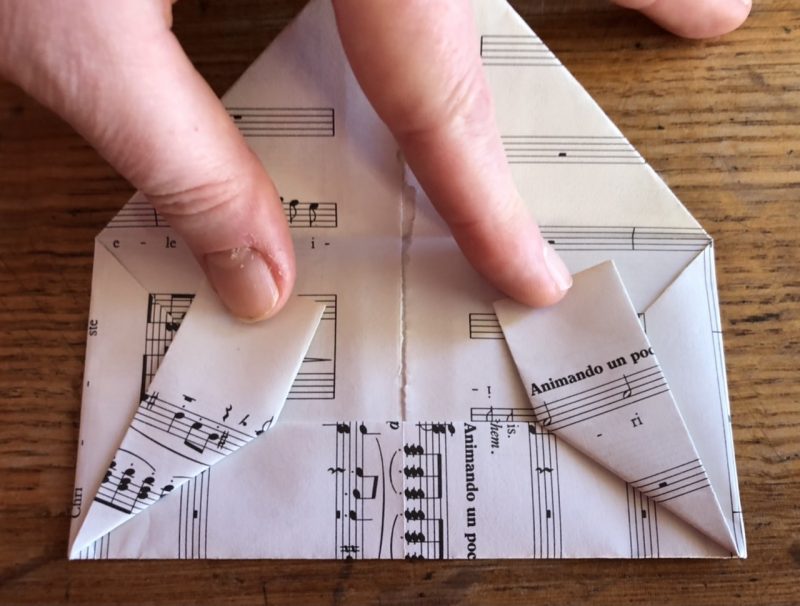
17. Repeat on the other side.
18. Finally tuck the point of the triangle into the pocket.
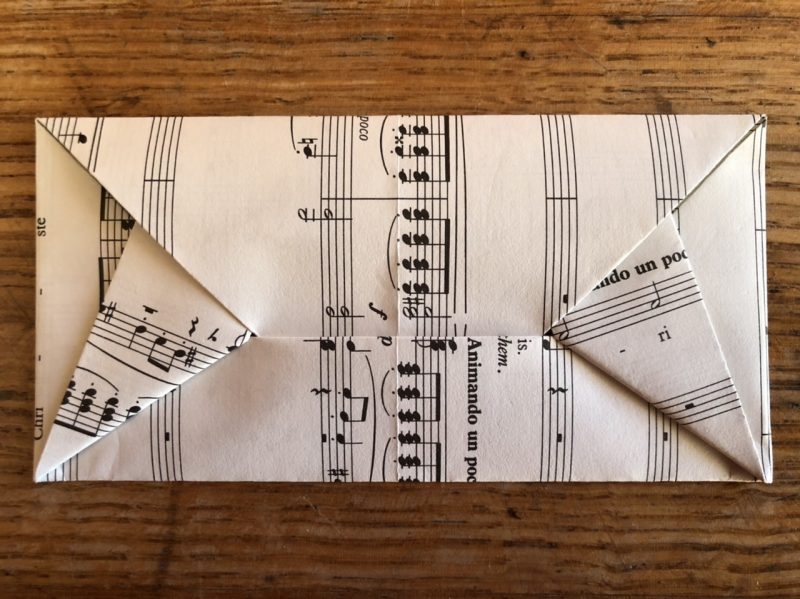
19. Voila! A self-sealing envelope, with elegant narrow proportions.
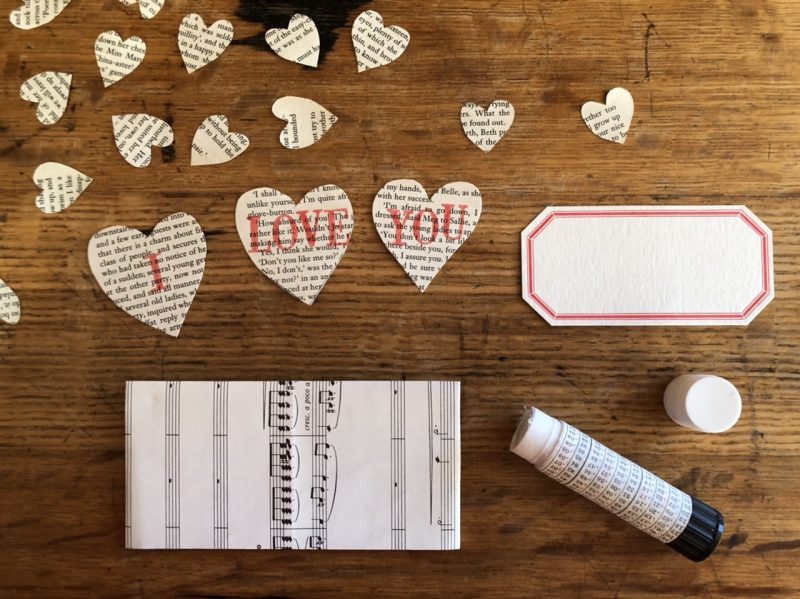
20. Add a label if desired. (This one came from Present & Correct.)

21. Unfold the envelope enough to tuck in your special messages.
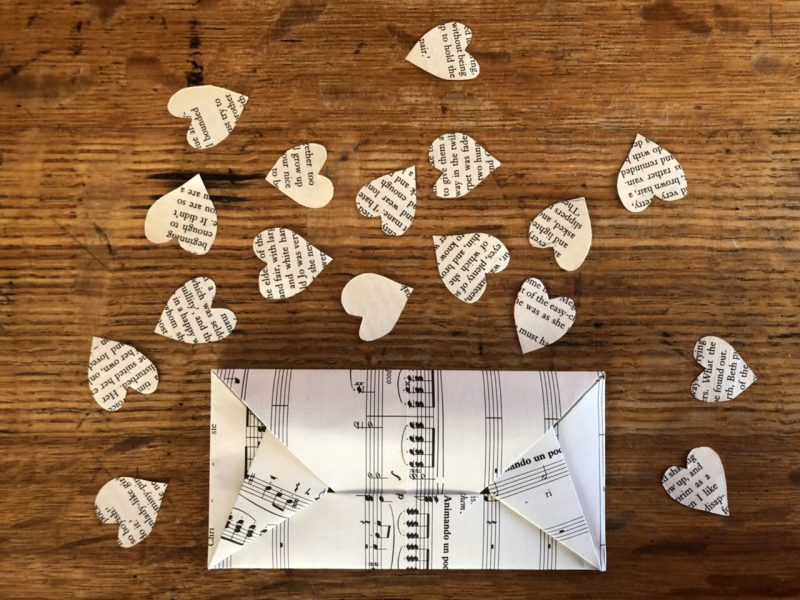
22. Add lots of smaller hearts too.
23. Get in the post ASAP or hide your billet doux away until the 14th February.
I’m sending as much book and paper love as you need.
Thank you for tagging @paperhazell and #confettihearts on the socials.
Happy Valentine’s!
this does not work for me.
can you give dimensions for the paper used for the envelope, please?
Hello Sandra, How frustrating that this doesn’t work for you. The ‘You’ll need’ list specifies A4 or US letter size paper for the envelope. The music paper I used in the example was slightly smaller than that. Please e-mail a picture if I can help more. Bests, Rachel
What a great project! I definitely need to give this a try. A perfect idea for a special valentine’s greeting. Thank you…. xo
Excellent news Annie! Happy paper-loving! Xr
Thank you! Lovely idea and just in time to send to my true love.
So glad Nancy! X r
I love this beautiful simple Valentine’s card.
Hurray Maria, so glad you enjoyed this project! X r
thank you Rachel for another inspiring project – your enthusiasm is contagious
loving your postings on instagram what a fabulous place Iona must be – looking forward to seeing your ‘gathering’ project – Lesley xx
Such a pleasure Lesley. So excited about ‘Gathering.’ XXr
Lovely idea.
I haven’t tried it yet but think the book is Little Women???
There were a couple of clues on one of the hearts!
Eagle eyes Patricia! It was indeed Little Women – a falling-apart copy, otherwise I wouldn’t have dared..
in mum for lockdown so she is my lifetime Valentine- Just made hers for when we sit down to bubbles and a special lunch. SO delightfully easy xx
Dear Kate, So glad your ma got to be with you – special lunch AND a homemade Valentine!Good loving lady! XX
Thank you very much Hazel, yet another variation on a theme, how clever. Now back to my Are You Book Enough project for February, which I am really enjoying, using a simple slit book but with lovely old hand made paper – 1934 I think. You certainly set me on a lovely new direction in life with your Paper Love Course three years ago.
Janet xxx
Aw thanks for your message Janet – so glad that your PaperLove continues! All luck for Are You Book Enough project! V bests, Rachel XX