
How to: Write a Love Letter
As the second Paris workshop opens for registration today, I’ve been thinking lots about the themes we’ll focus on. Here’s a project so that you can join in, whether you get to come or not – How to write a love letter!
The history of letter locking goes way back. We’re going to create a contemporary version of something that might have been delivered by a messenger on horseback, secured with a royal seal!
Previous how-to projects show other examples of letter locking:
You’ll need:
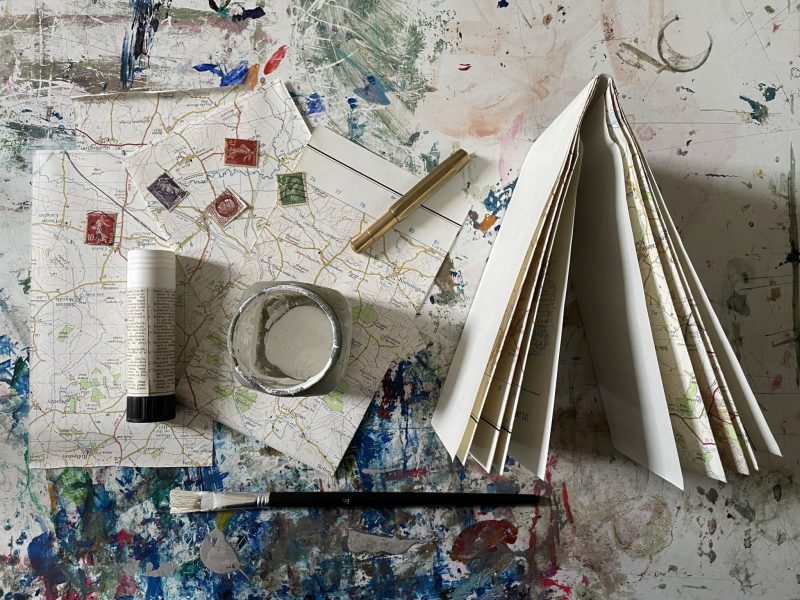
- Rectangles of ephemera such as maps, manuscript or book paper. The proportions don’t matter too much – this fold will work with all sort of shapes and sizes of paper
- Gesso or white emulsion
- A flat brush
- Something to write with – i’ve used my trusty brass Kaweco Sport Fountain Pen
- Maybe spare paper for jotting thoughts and ideas
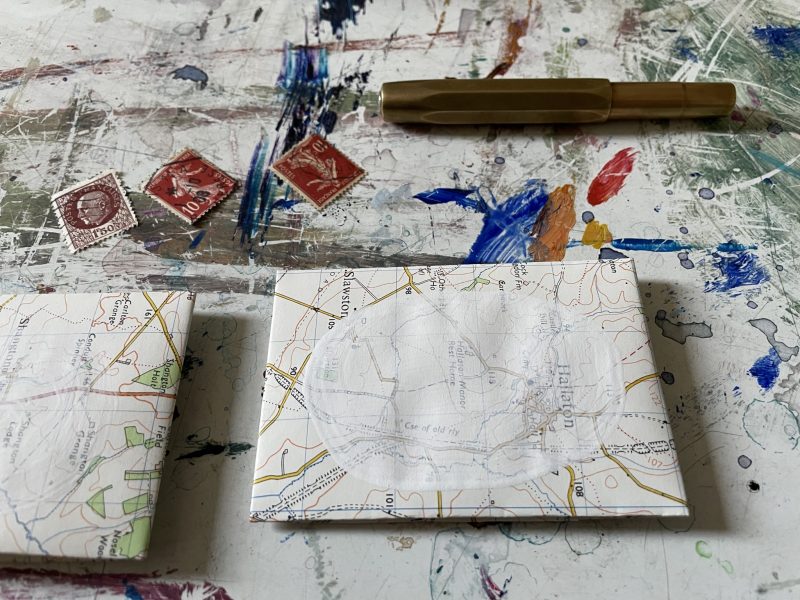
- Old stamps and a glue stick (optional)
Step by step:
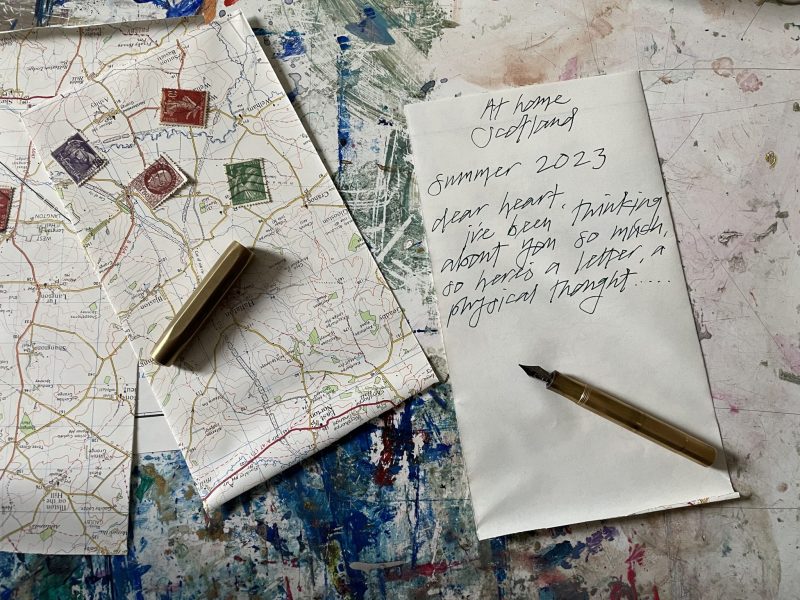
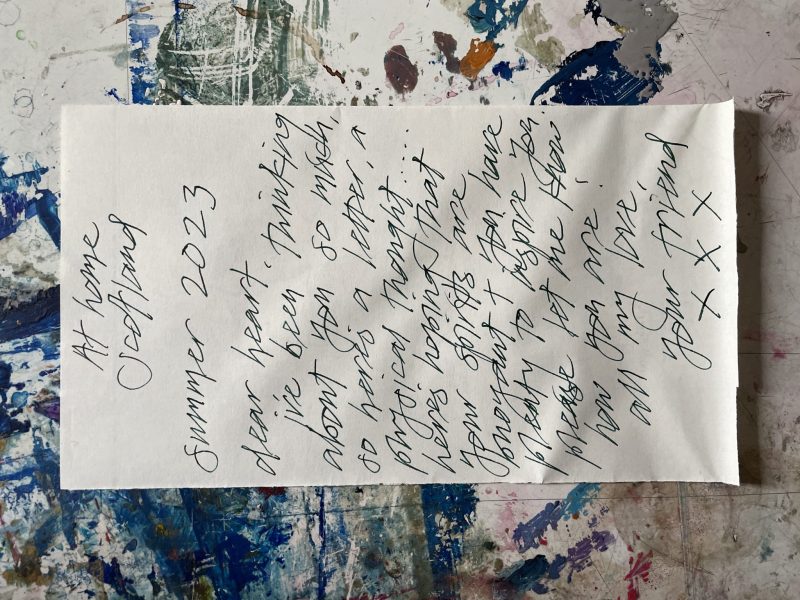
On one side of the paper, write a letter to a beloved. Make notes beforehand, or be spontaneous.
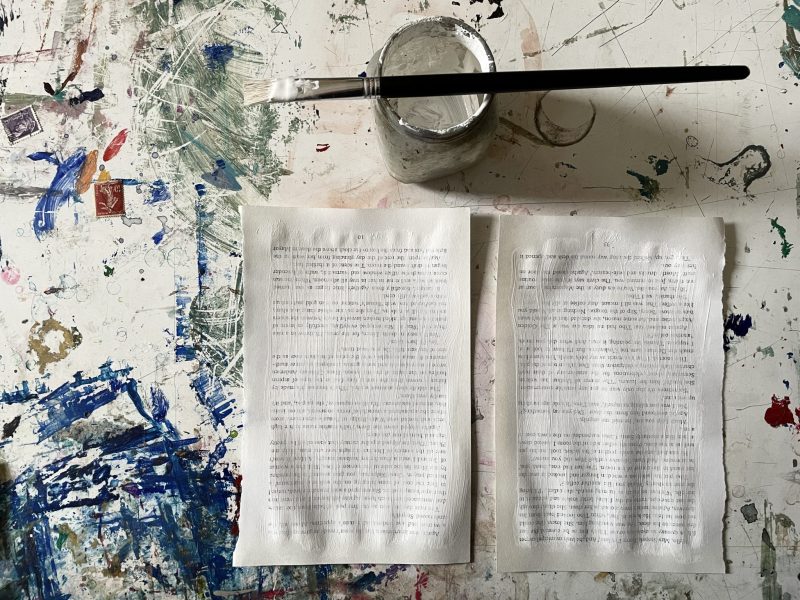
If your ephemera is double-sided, you can apply a layer of gesso to obscure the background, while leaving some characterful texture to show through.)
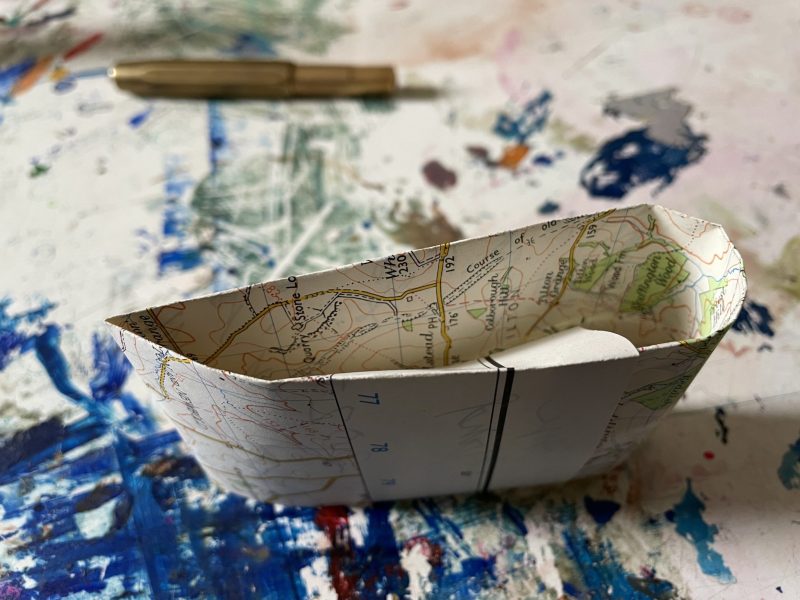
Now we’re ready to fold your love letter!
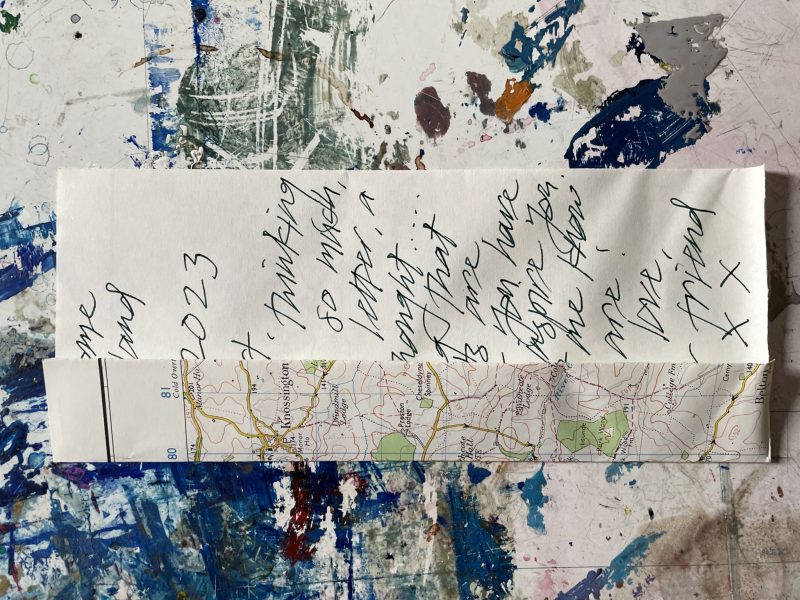
Fold the long side up to the middle, roughly.
Fold the top long side down to meet the other. Leave a tiny gap, like a millimetre, as then it’s easier to assemble.
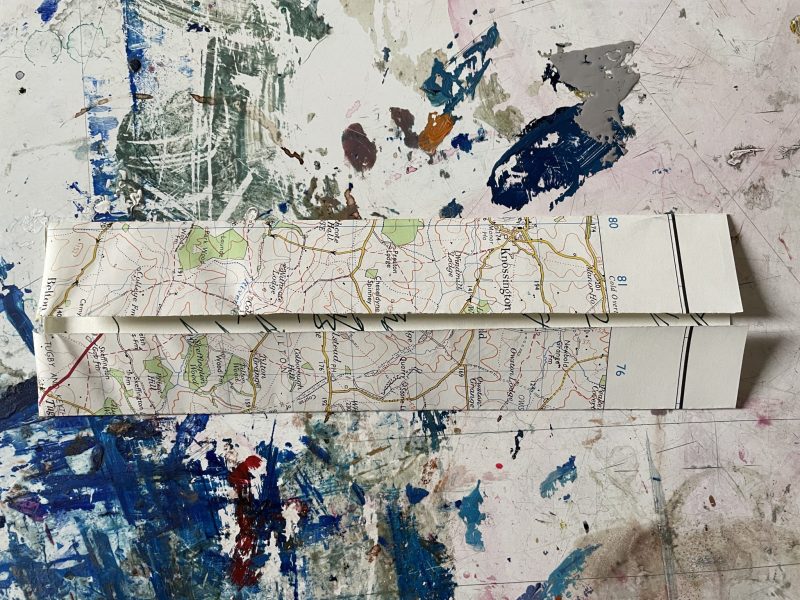
Fold one end in from the left, about a third of the width.
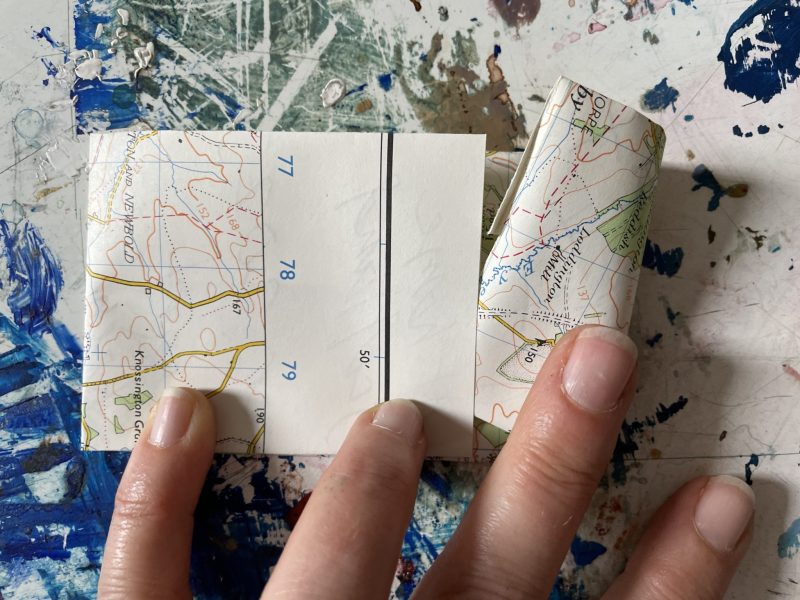
Then fold and slot the right hand end into the pocket on the left.
It takes a little jiggling and manouvering.
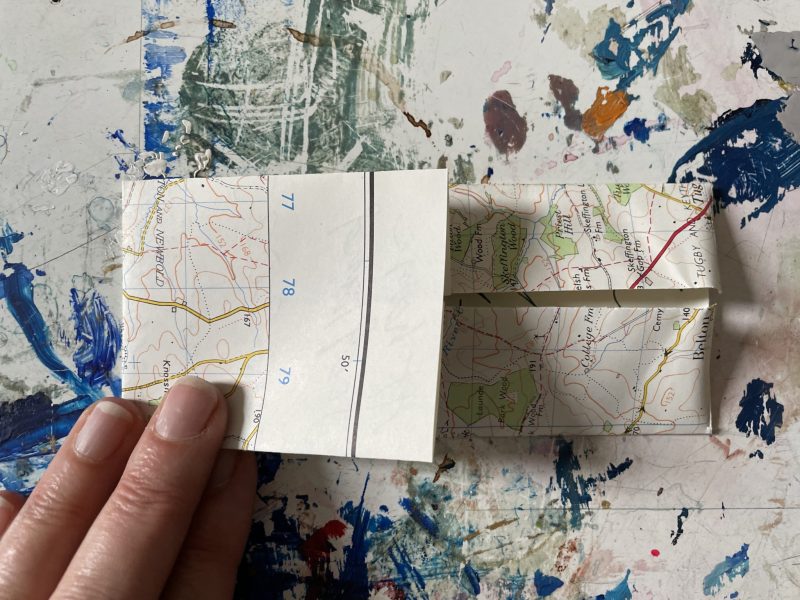
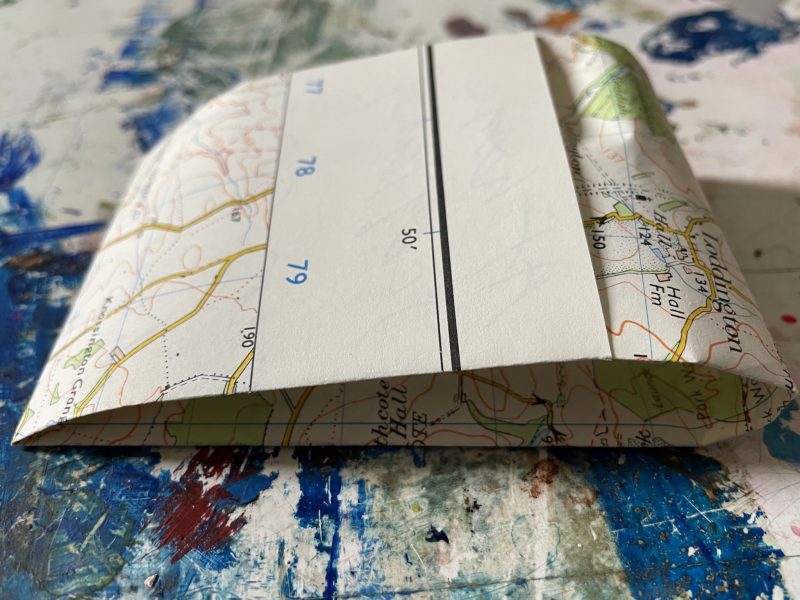
Here’s a view from above.
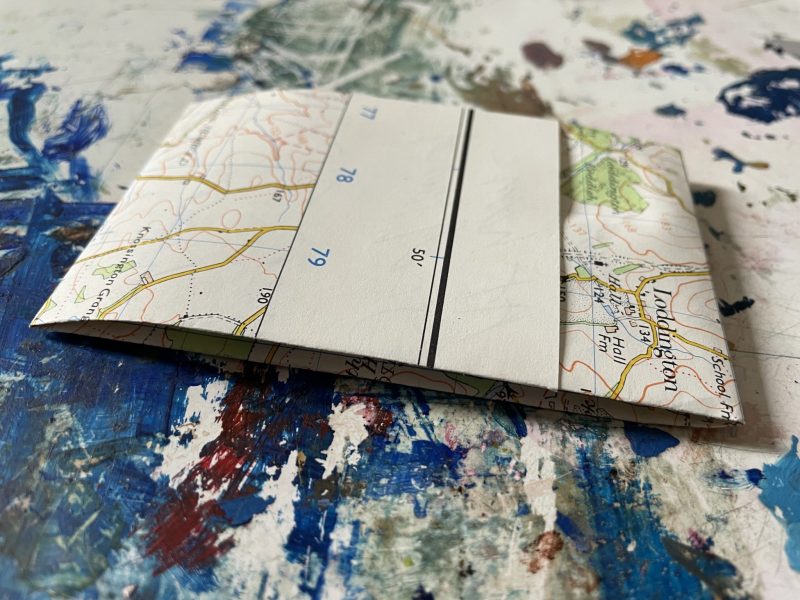
When you’re happy, smooth the right hand edge down flat. There you have it, a self-sealed envelope!
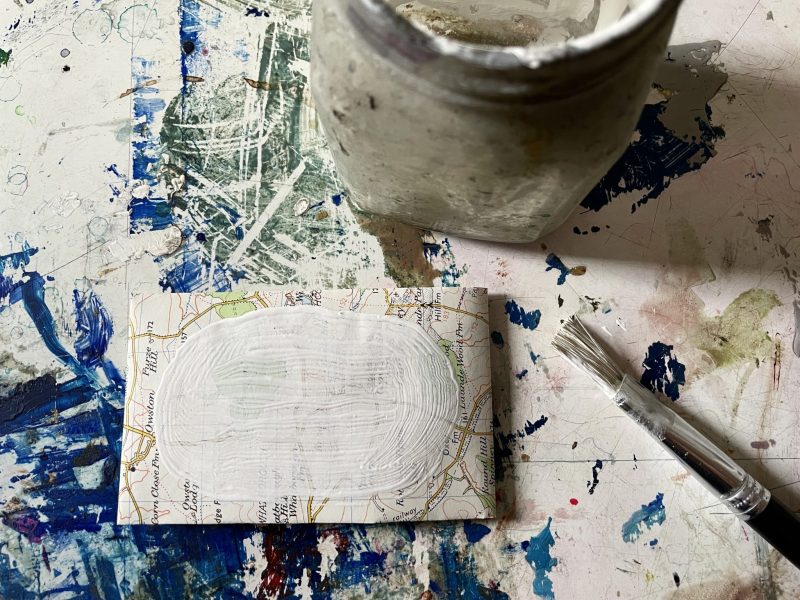
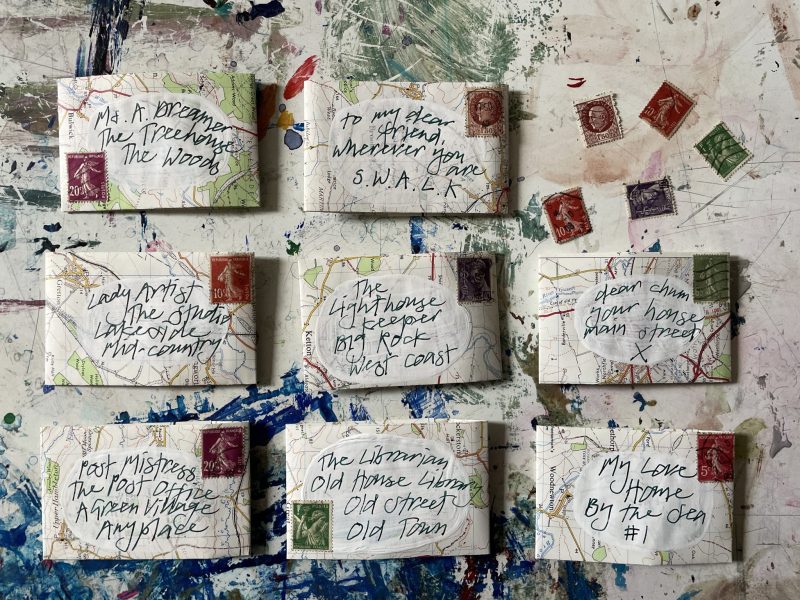
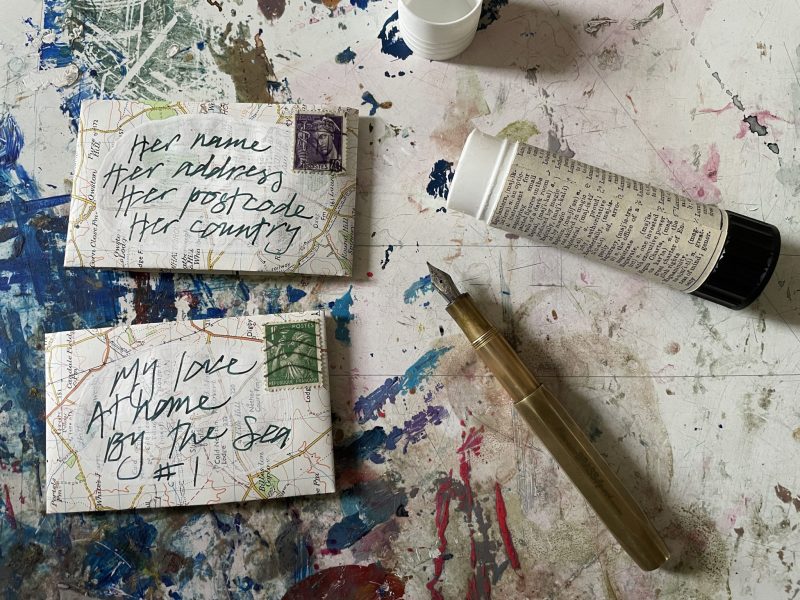
Use the gesso to make a clear space for the address.
Might be worth doing several at a time.
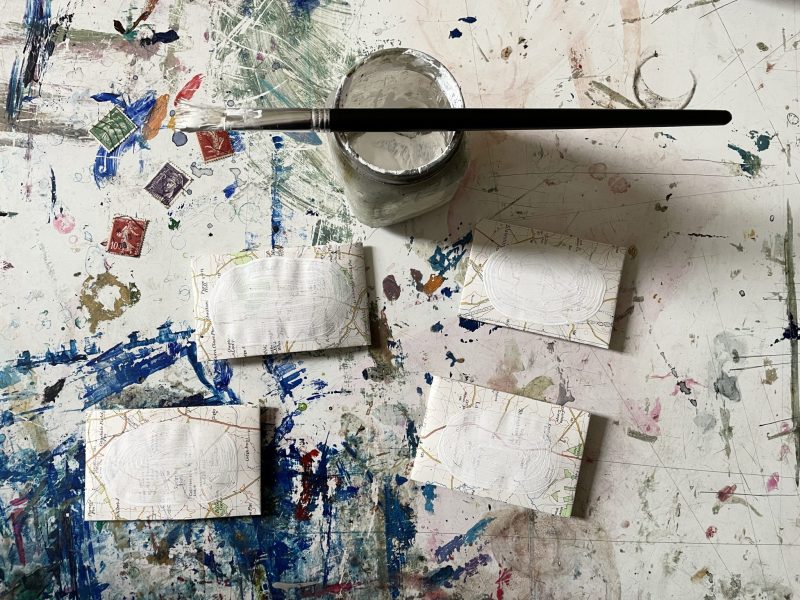
Then leaving them to dry.
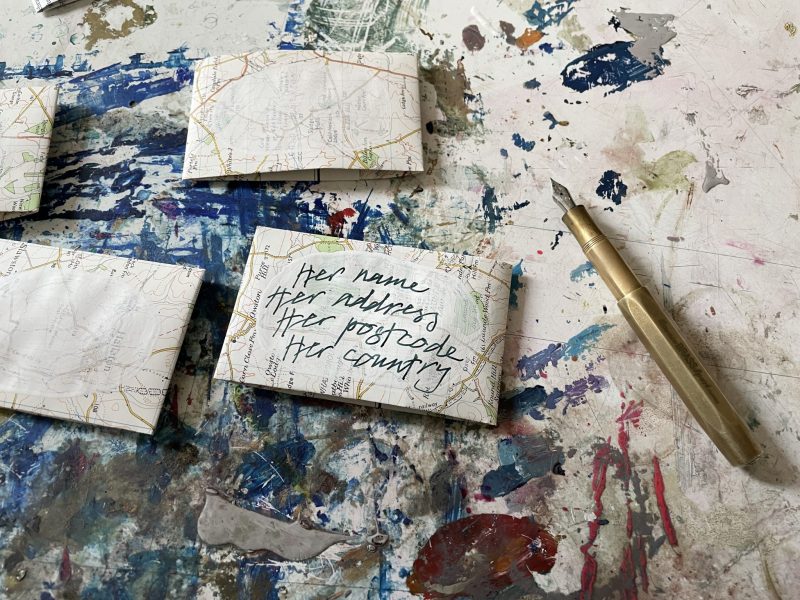
Add the recipient’s name and address (and marvel at the satisying bite of gesso under your nib.)
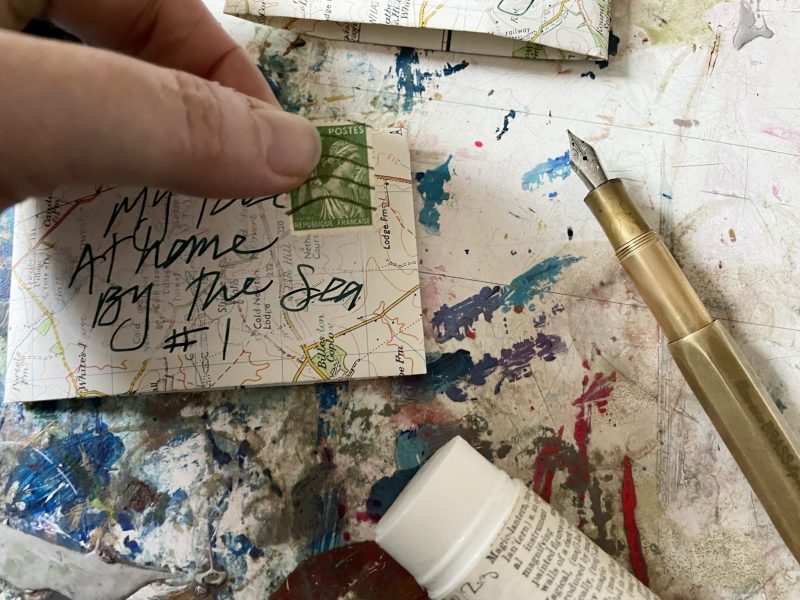
Add a stamp – i’ve used some of the stash collected from a Parisian flea market.
Oh there’s something so lovely about making your own envelopes.
Happy corresponding!
The Paris Love Letters workshop takes place in November.
Thanks again for your generosity in sharing these delightful little projects with us. All of my favourite things in one little package! 🙂