
How to: Make a notebook
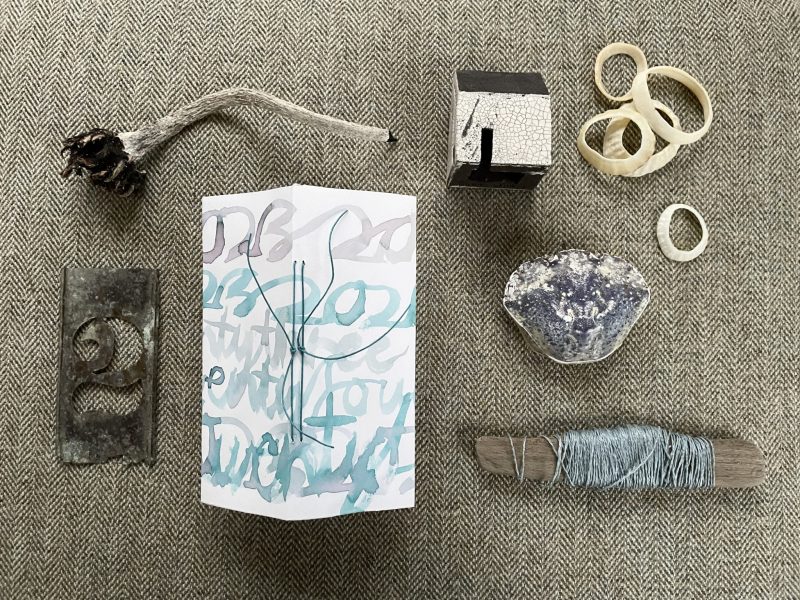
Combine How to: Make a Notebook with reading The Notebook: A history of Thinking on Paper by Roland Allen. I don’t believe anyone reading that book will not immediately want to note their thoughts, in word or image, collage or poetry.
As we’re nearing the year’s end, and looking ahead to 2024, what better than to have twelve spreads for reviewing 2024 and twelve for thinking about the New Year?
The tendency to assess and review, plan and resolve, is strong. Make this book yours, by noting what’s important to you; ingredients, colours, cloud shapes and textures perhaps, instead of the usual…
Chart what has gone before and plan (imagine) what is to come.
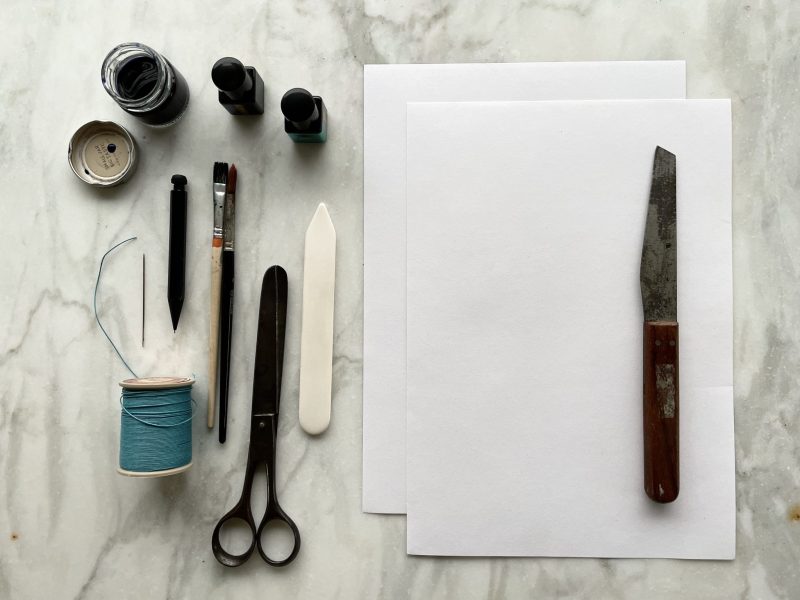
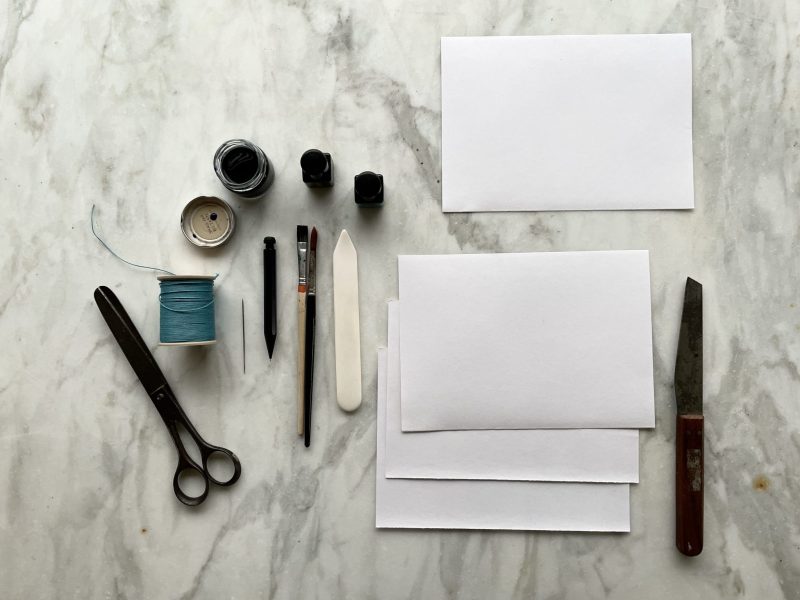
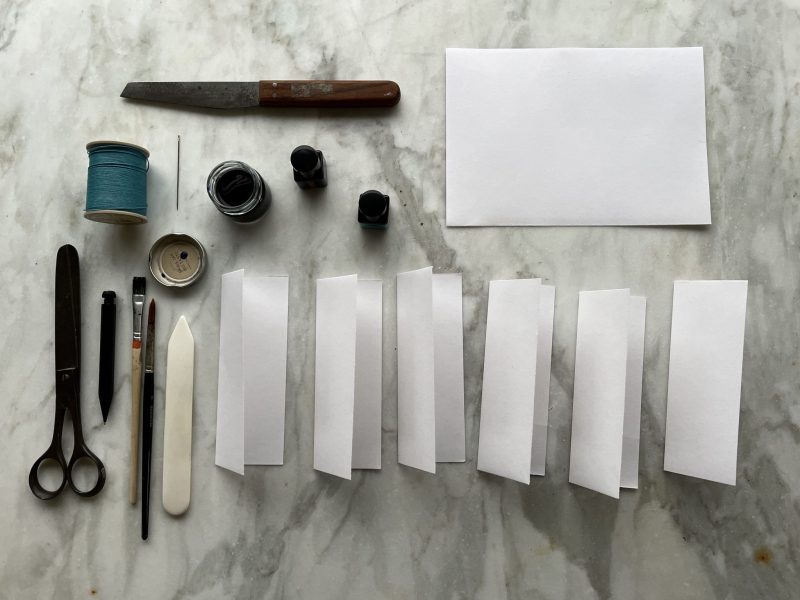
You’ll need:
- 2 sheets of A4 or US letter size sturdy paper. Grain direction long. I’m using 170gsm cartridge
- Scissors
- Needle
- Cutting knife (or ruler and scalpel)
- Bone folder
- Ink or coloured pens for the cover
- Needle
- Thread
Step – by – step:
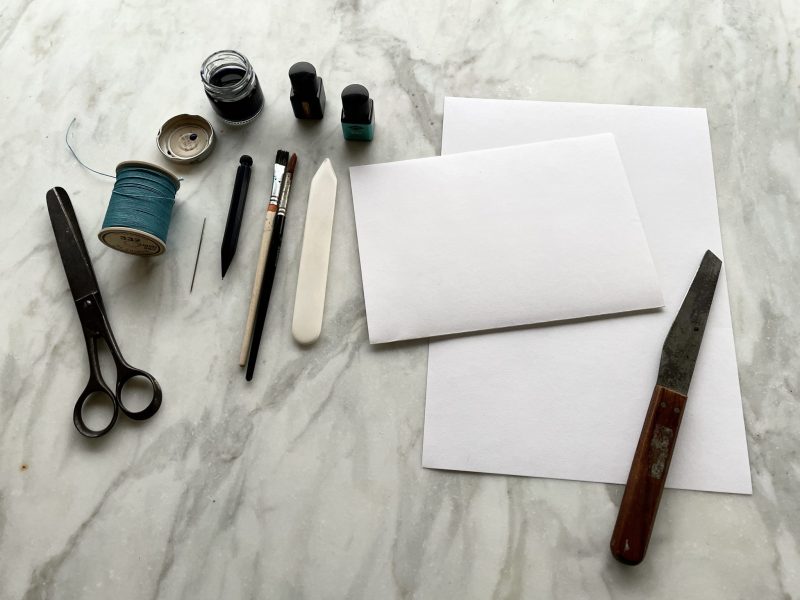
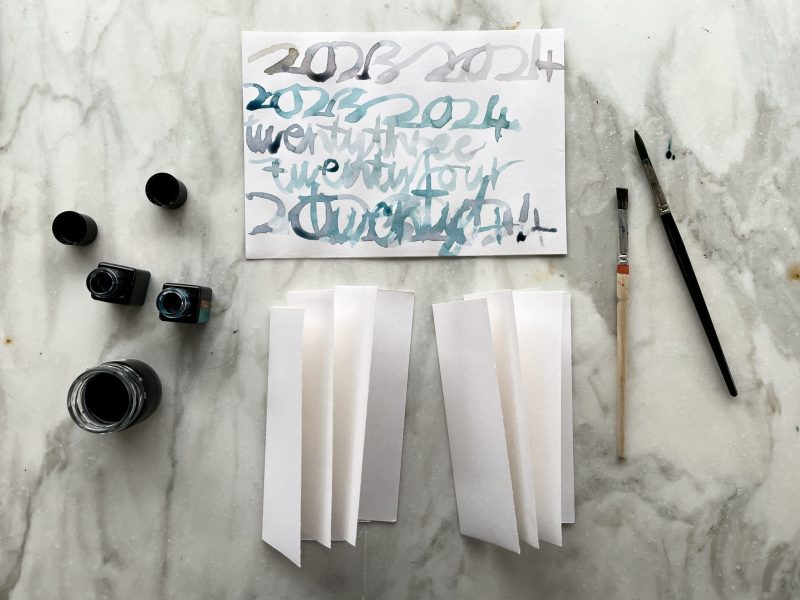
Fold both sheets of paper width ways…
…and cut them in half.
Set ONE piece aside – this will be the cover!
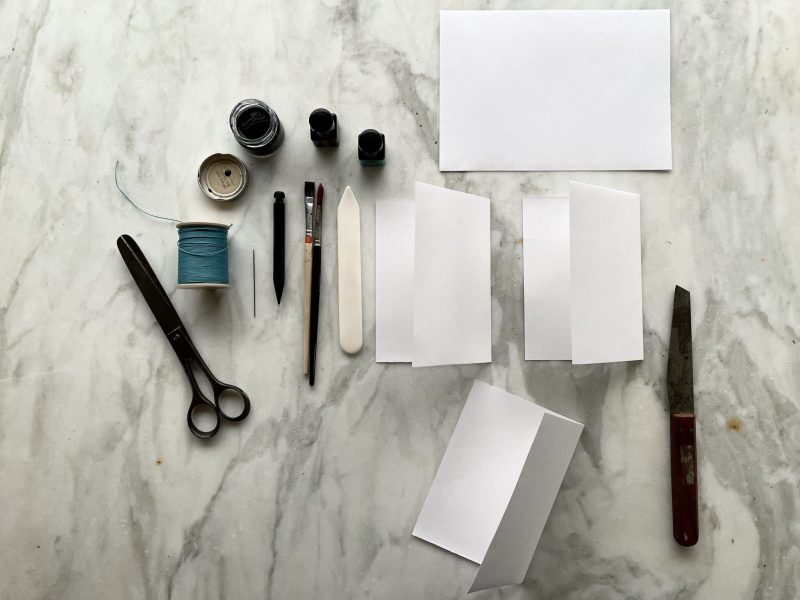
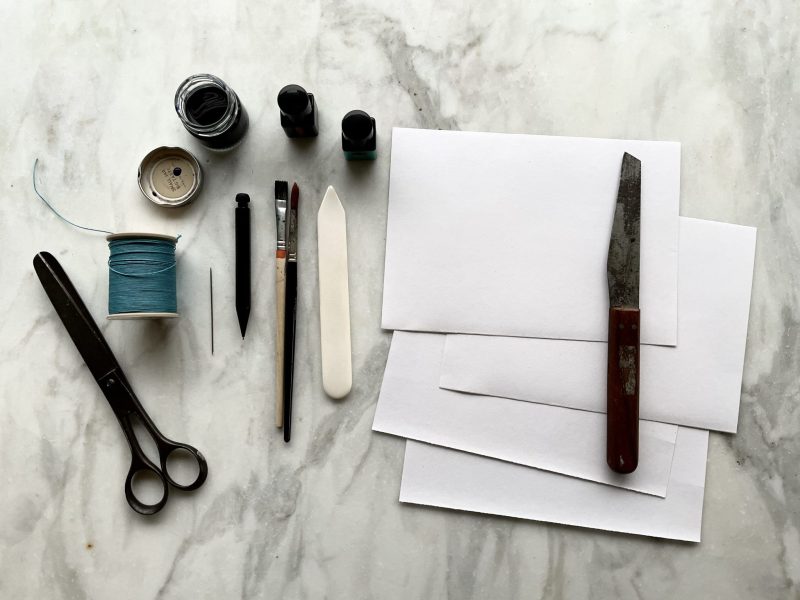
Fold the the remaining three pieces in half again width ways.
And cut them in half too!
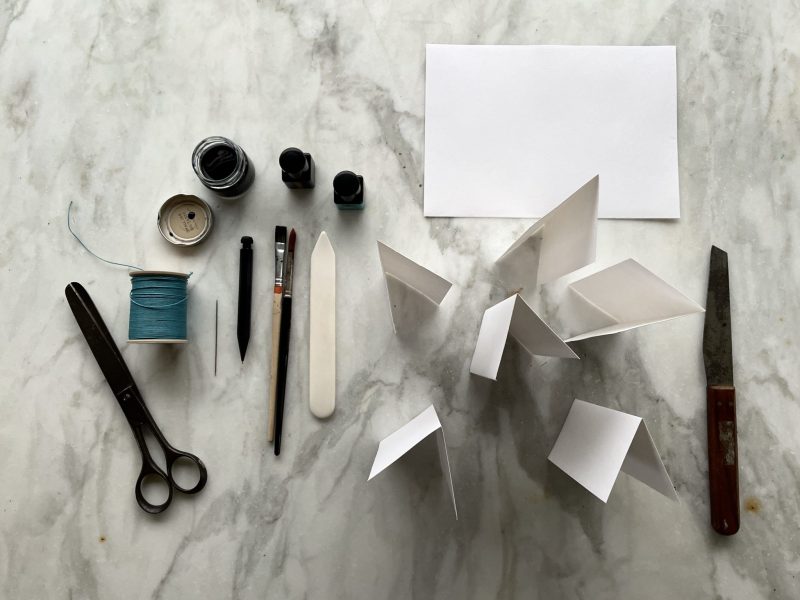
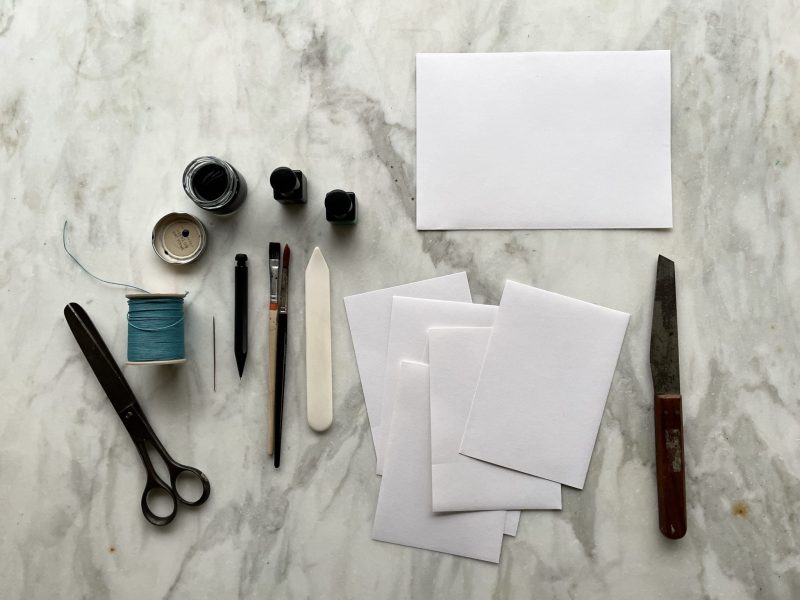
Fold each of the six in half length ways.
LOVE how they look all lined up.
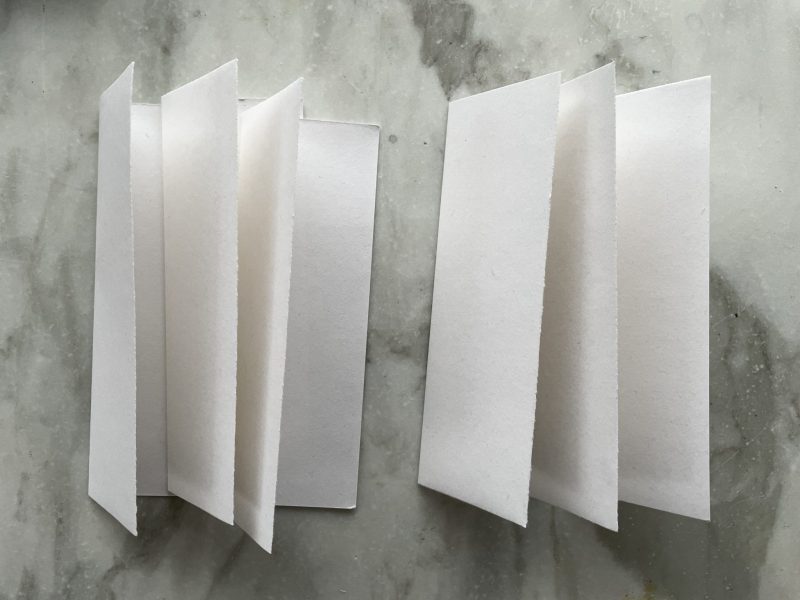
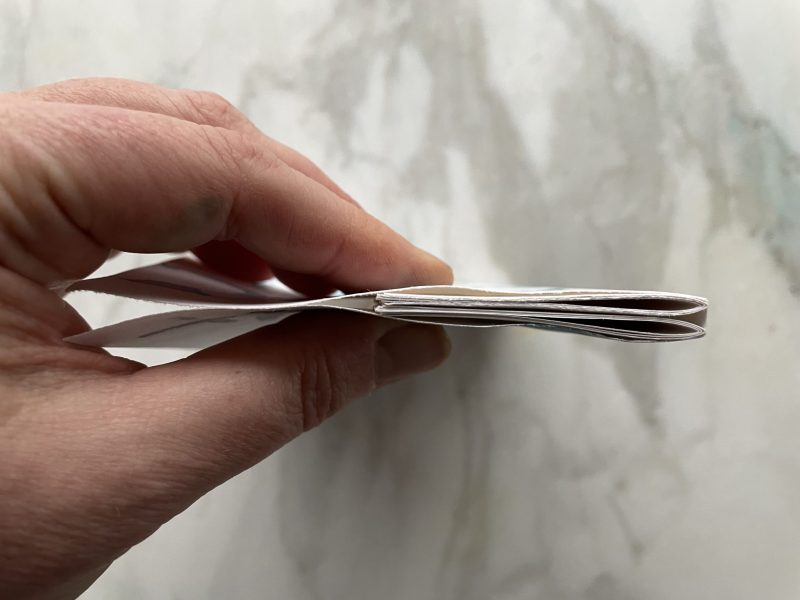
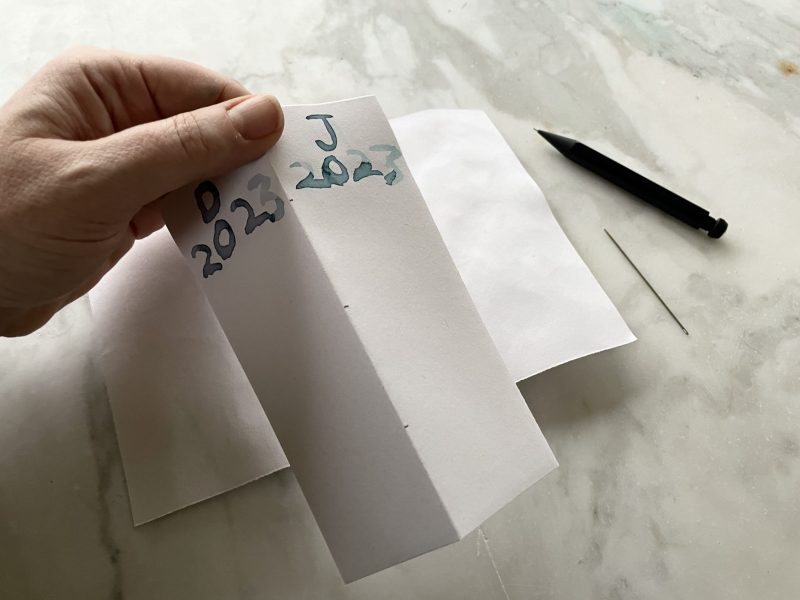
Now nest three folded pieces together, and then the other three, like this.
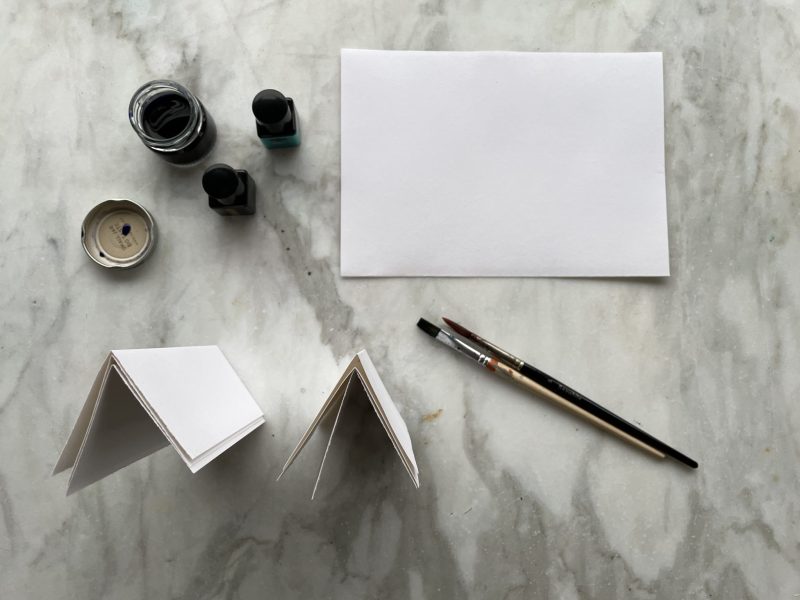
So you’ve got two signatures and a blank cover.
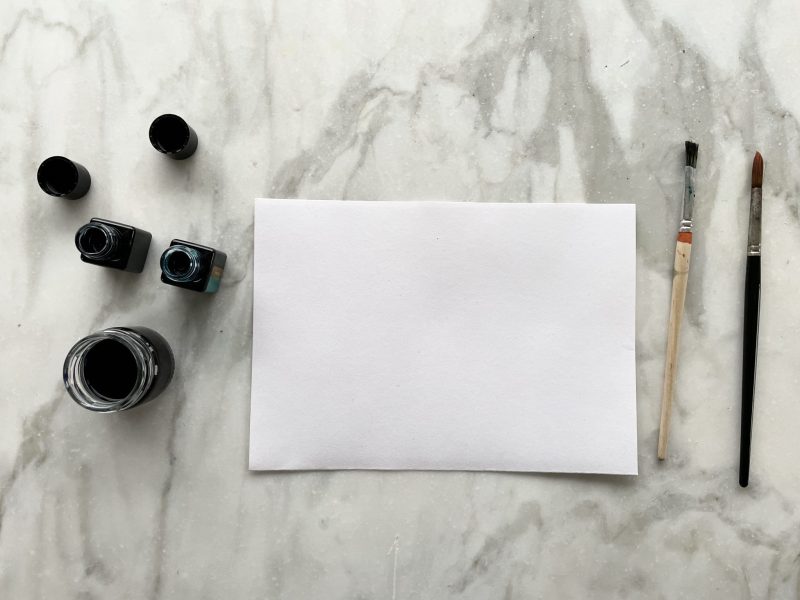
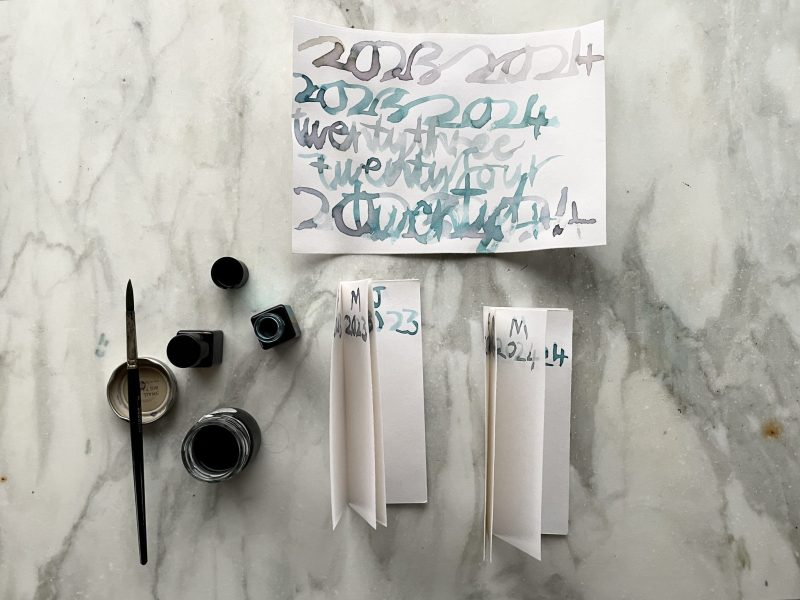
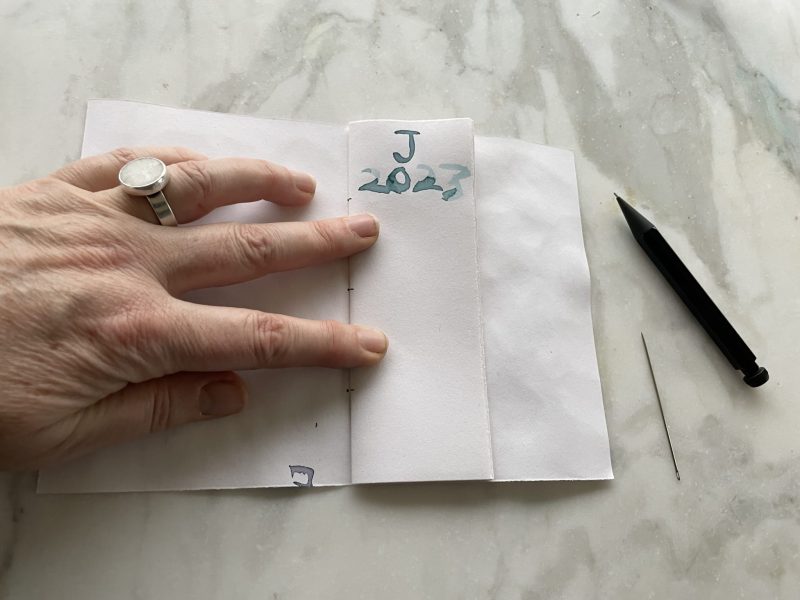
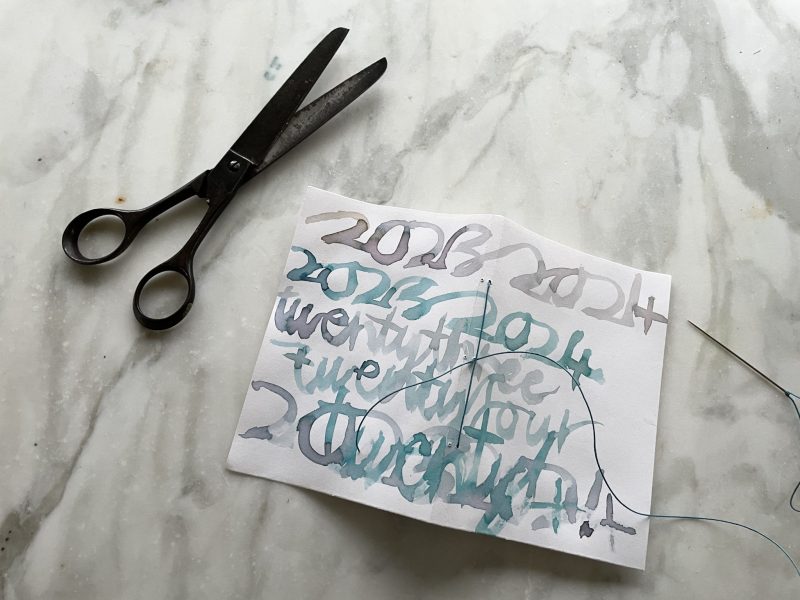
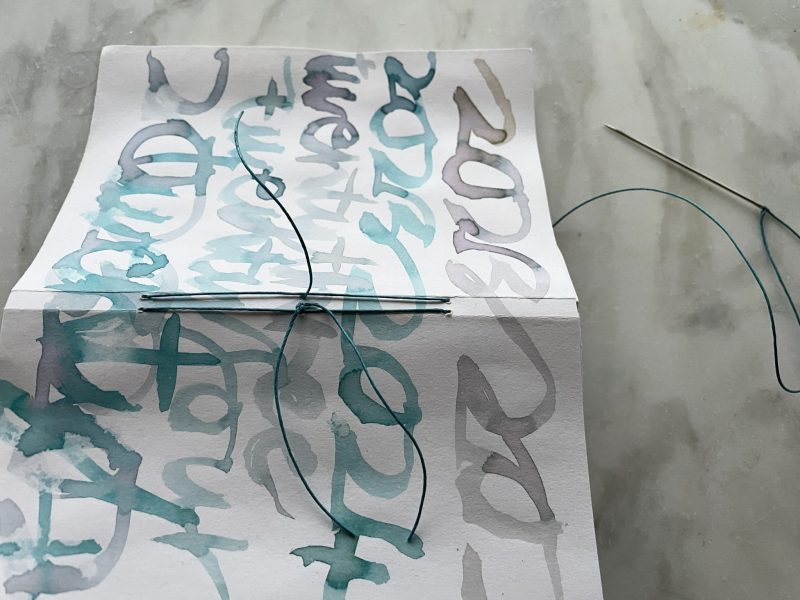
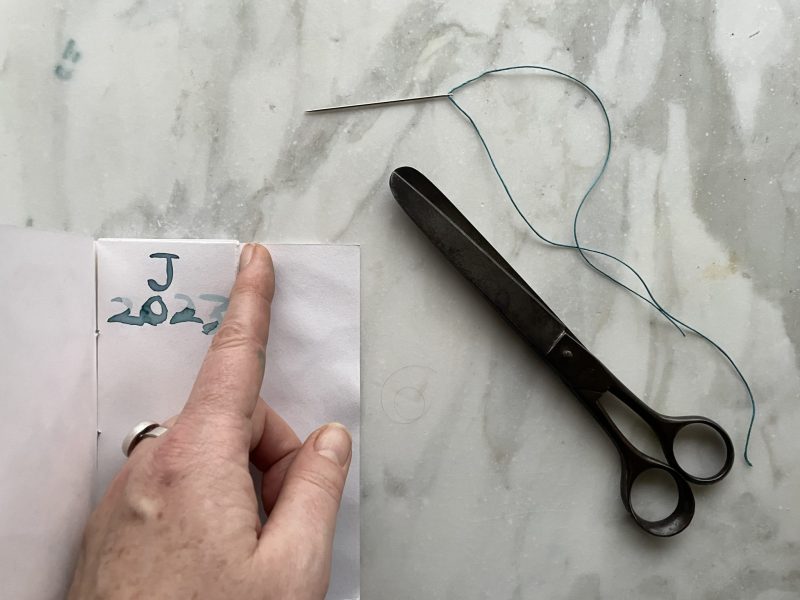
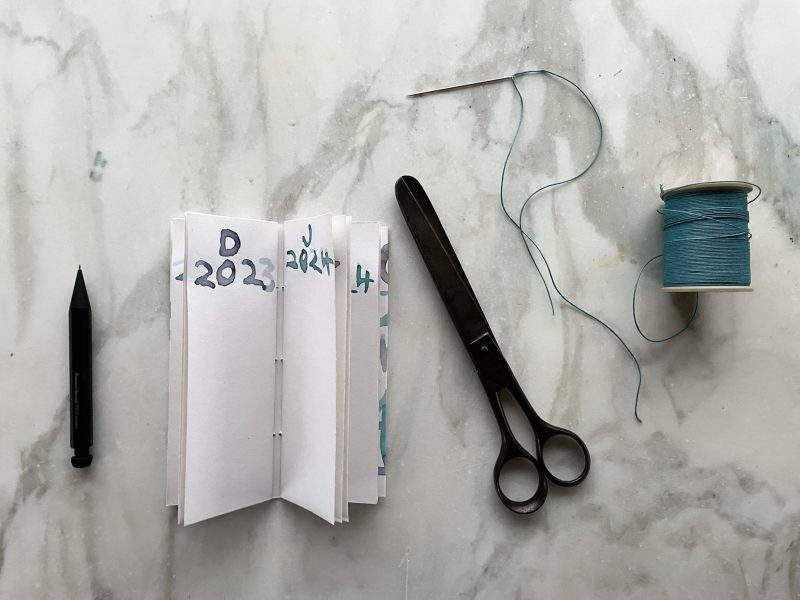
Time to get inky. Bear in mind that the first and last quarter will be folded in, and that the third quarter from the left will be the front.
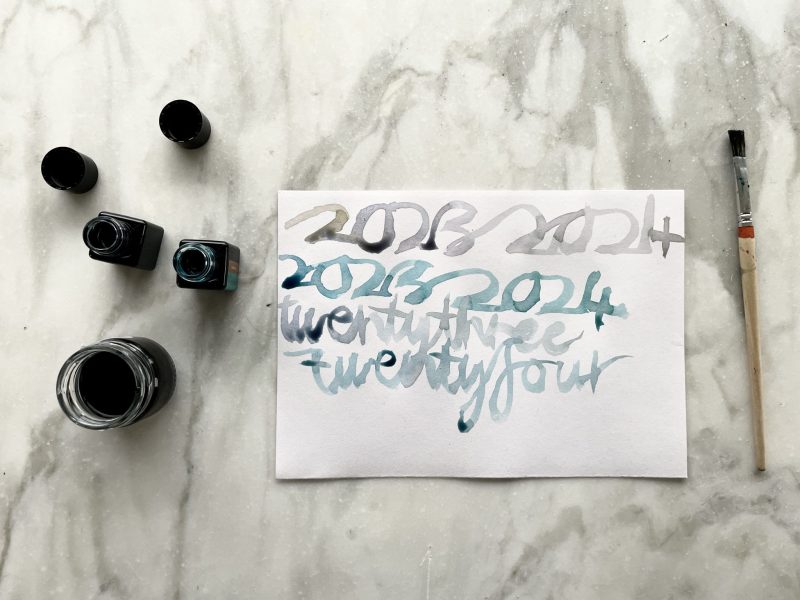
I used my non-dominant hand to write 2023 and 2024 in wobbly letters and numbers.
Not sure what happen at the bottom..i’ll pretend it’s secret code.
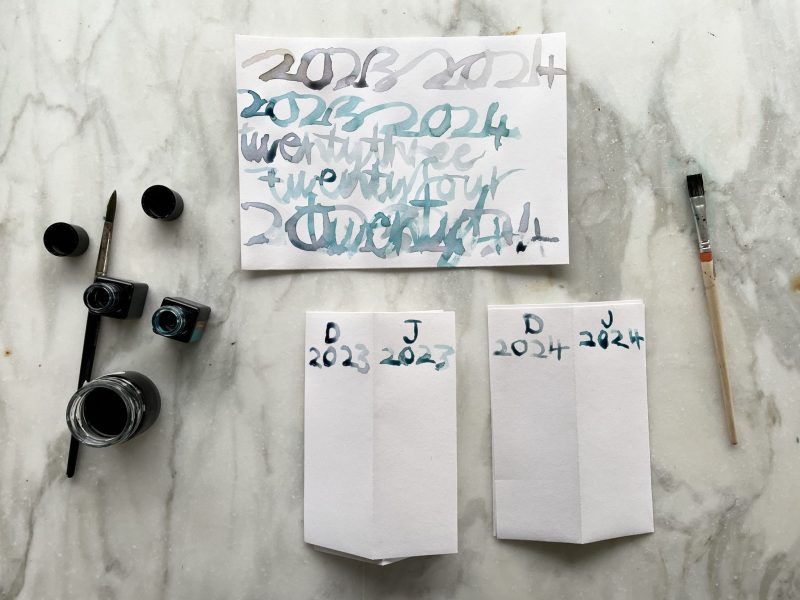
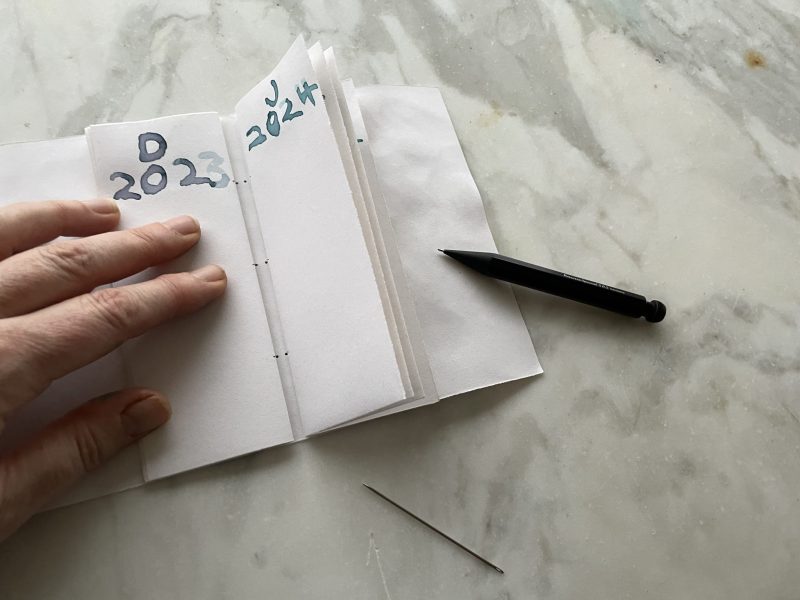
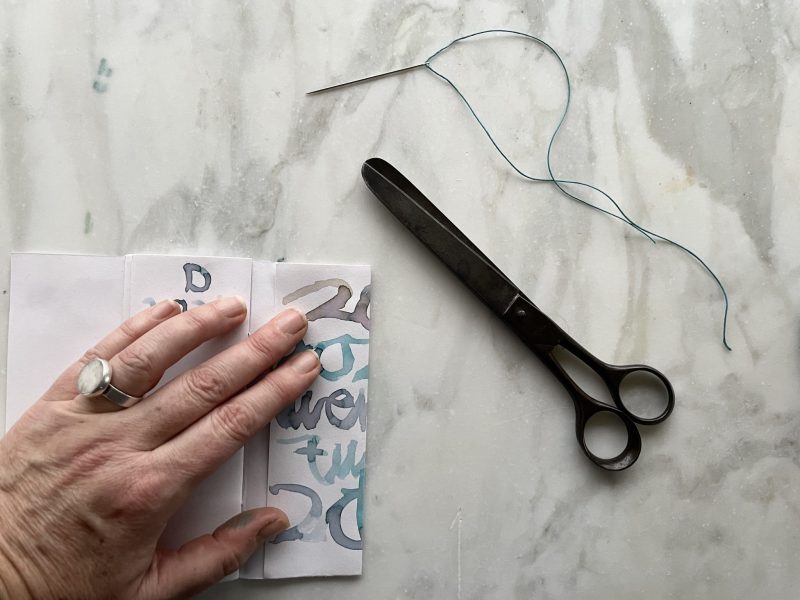
On each page of the left hand section, write the month of 2023. I just used initials – you could scribe them in full.
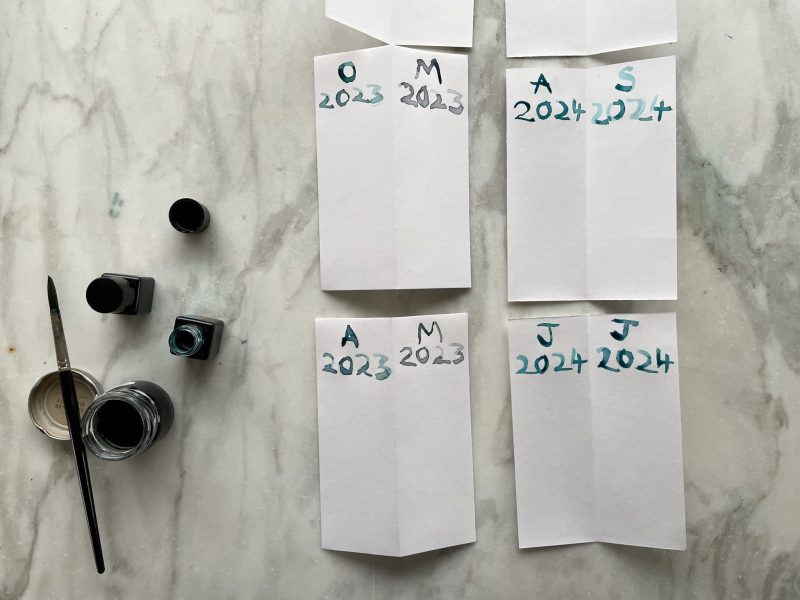
It’s a bit complicated if you’re waiting for ink to dry…i’m sure you’ll work it out!
Now we’re ready to bind!
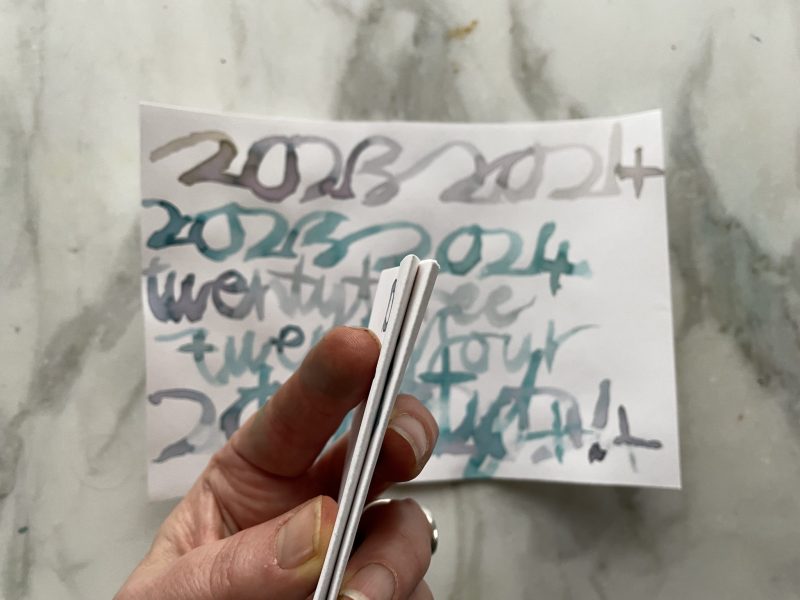
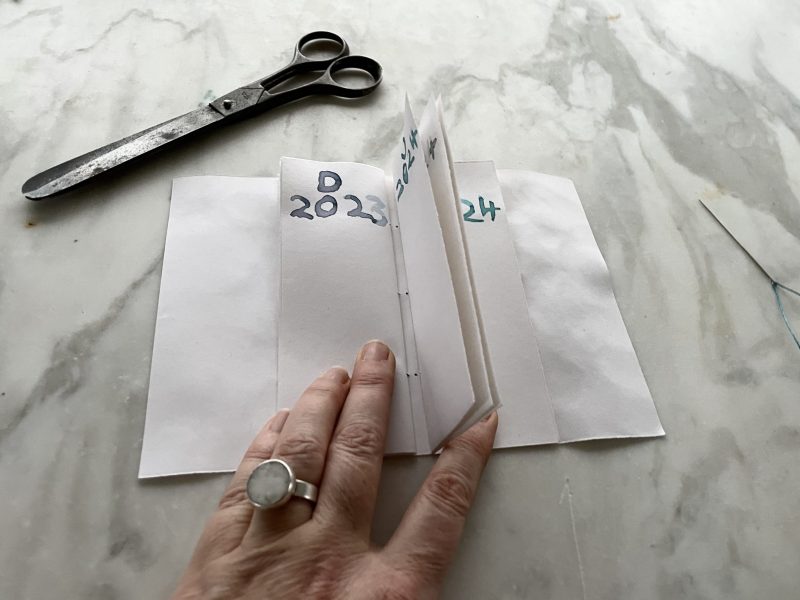
Hold your two signatures not loosely nor tightly, somewhere in the middle. Eyeball that measurement. Flip the cover over so that the decorated side is face down.
Then make as if to fold the cover in half width ways, but leave a gap that’s the same width as your guestimate and make a good crease. Err on the narrow side. No one wants a baggy spine.

Repeat at the other end.
Admire your beautiful box pleat.
And check that your sections fit snugly.
Mark six sewing holes on the inside of the cover: Two about quarter of the way down, two at the middle point and two a quarter of the way up. Make sense?!
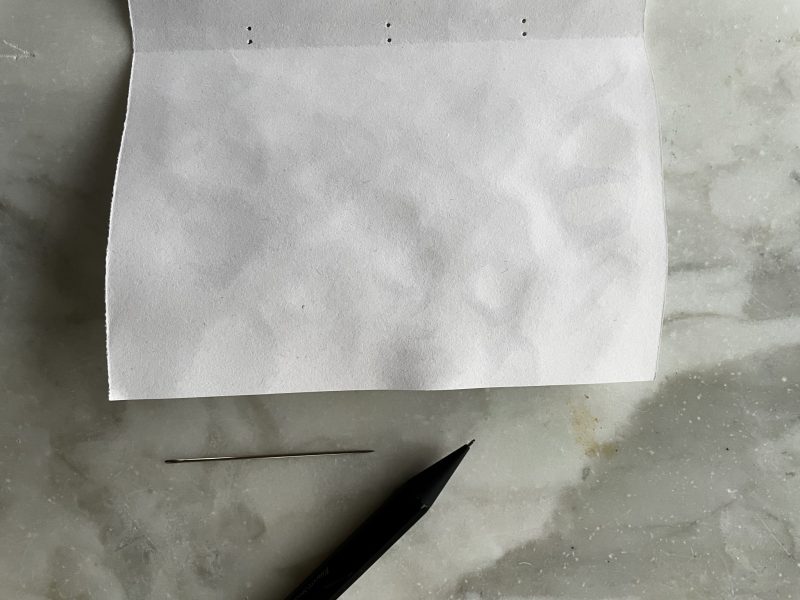
Prick each of the six marks through with a needle.
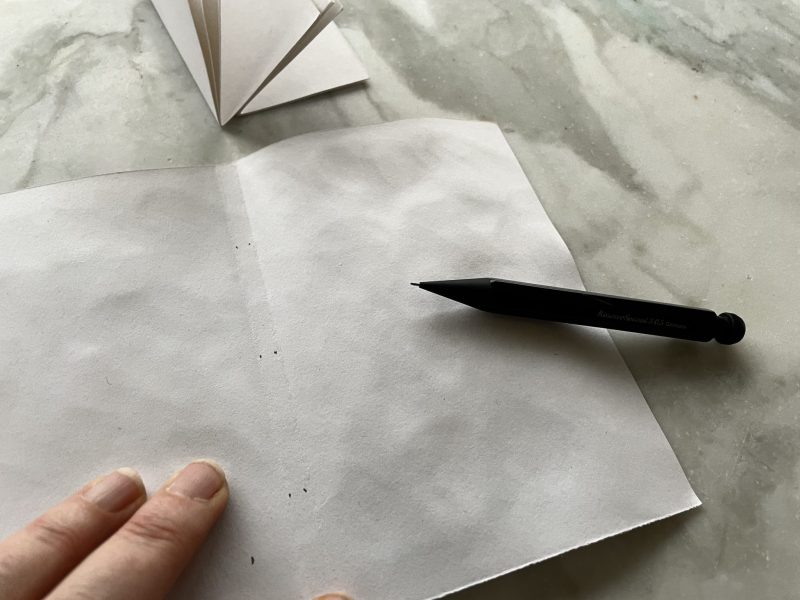
Lay your first signature so that it lines up with the three holes on the left side of the spine. Use a pencil to transfer the sewing hole positions onto the signature.
And prick them through too.
Do the same with the second signature.
Measure how much thread you’ll need: Six times the height of the book.
We’ll start by sewing the signature on the left.
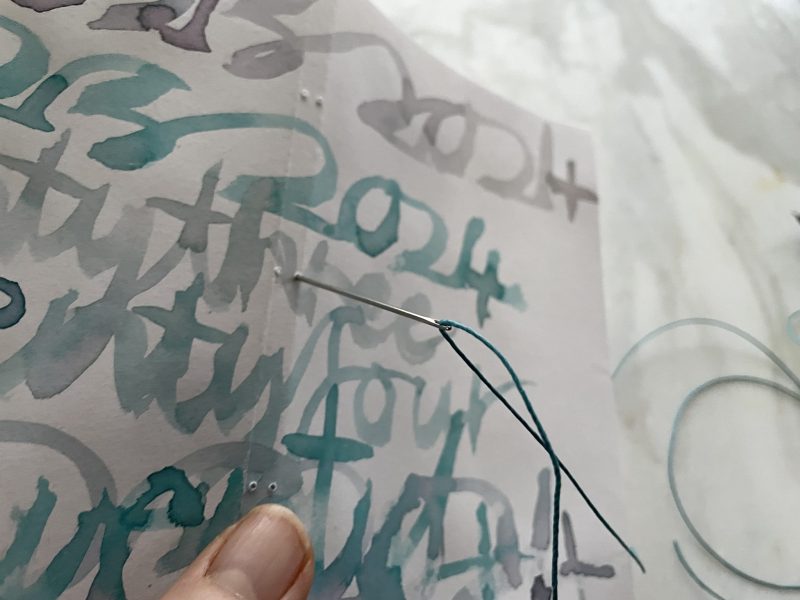
Start on the outside, at the middle hole, on the right hand side. Leave a long-ish tail.
Then come back to the outside from the top hole on the right.
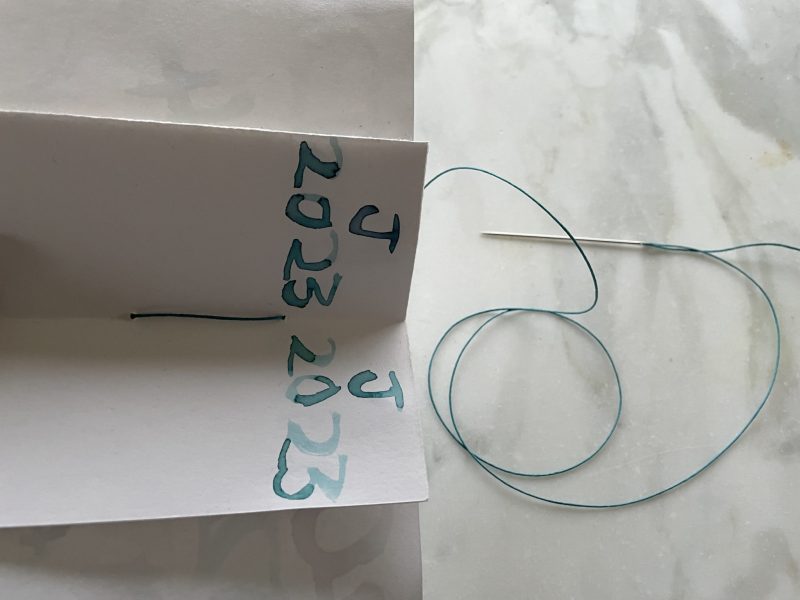
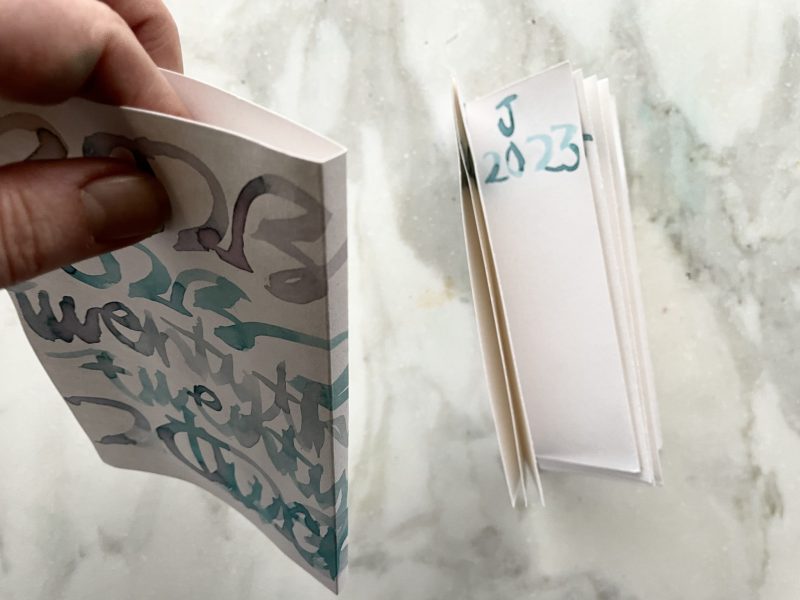
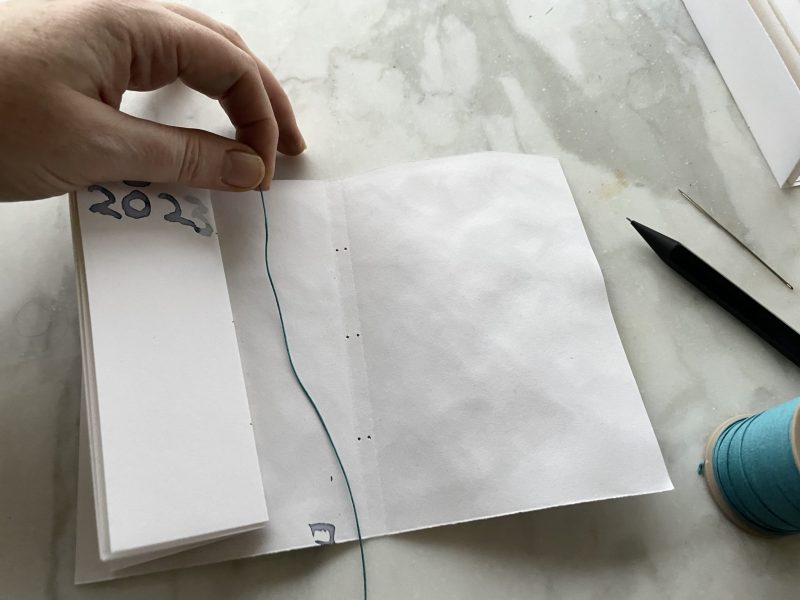
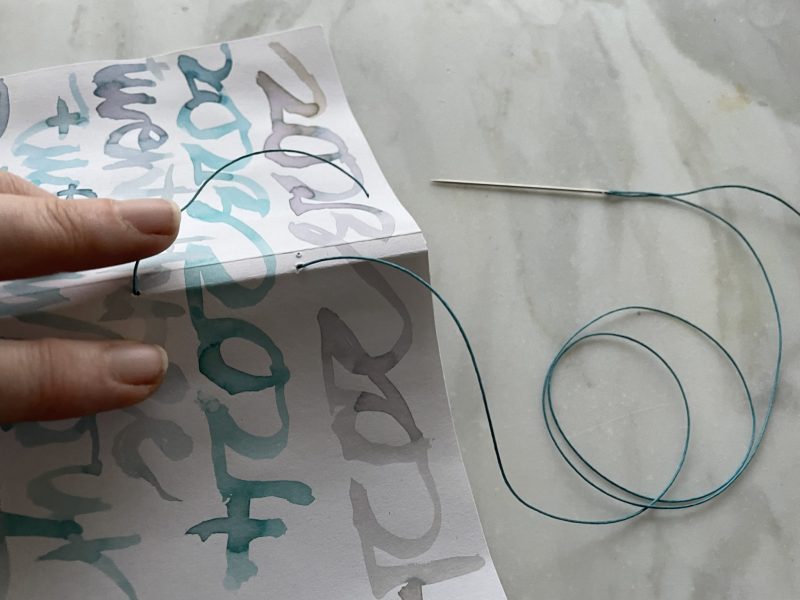
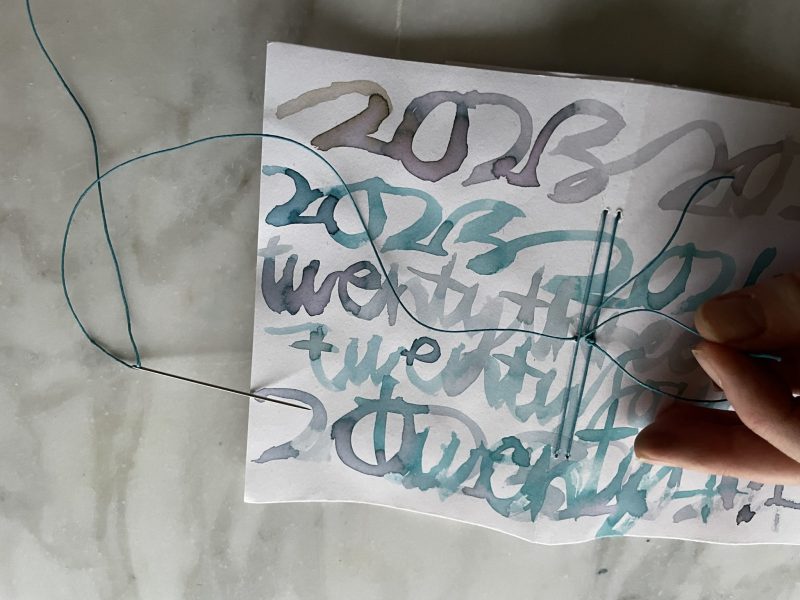
A lovely stitch on the inside of the first signature, between June and July 2023.
Then create a long stitch, missing out the middle hole.
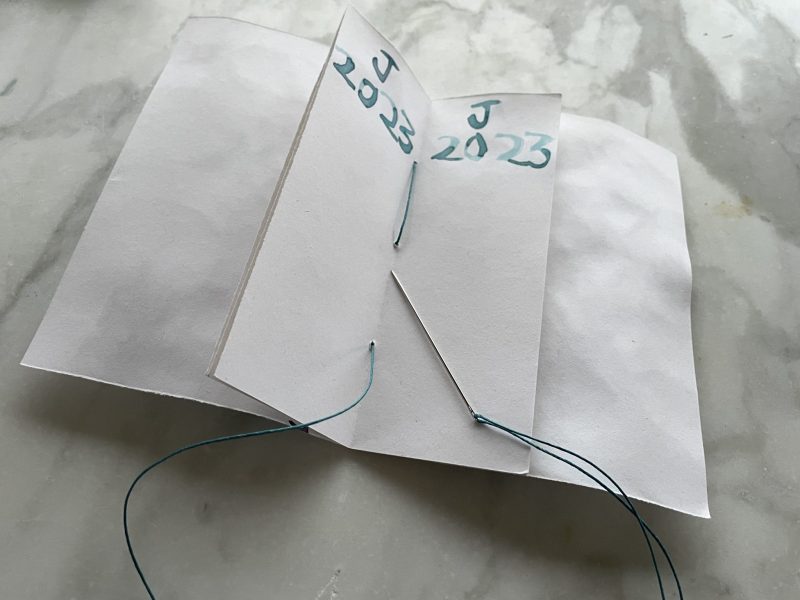
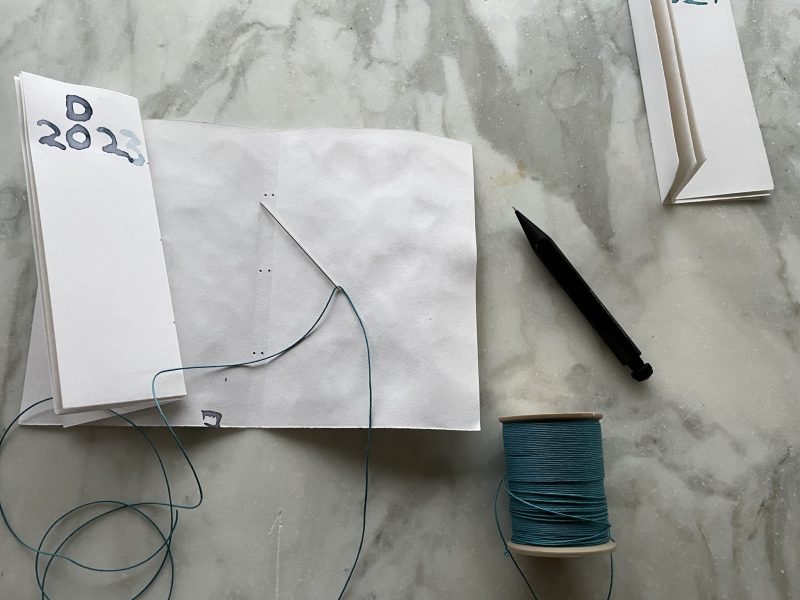
And finally take your needle through the centre hole….

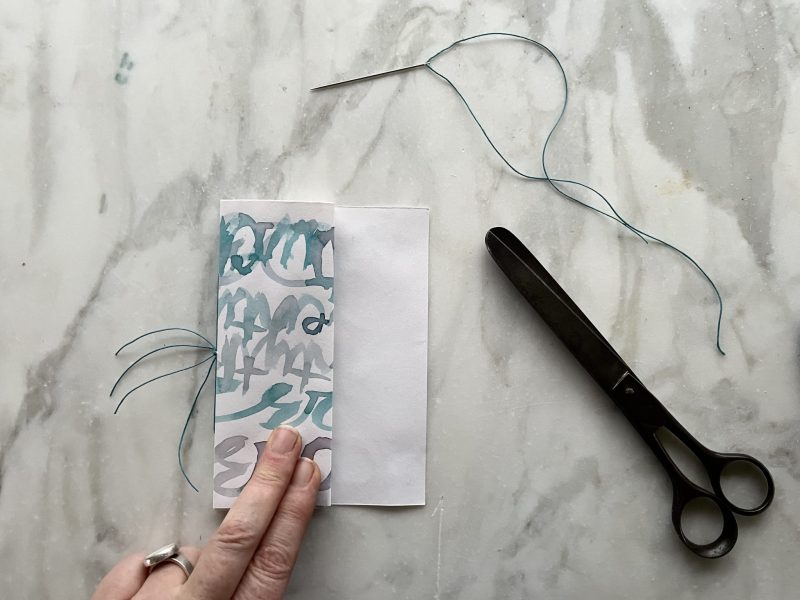
…where you’ll be reunited with the tail. Make sure that the tail and the needle and thread are on opposite sides of the long stitch. Tie a double knot over the top.
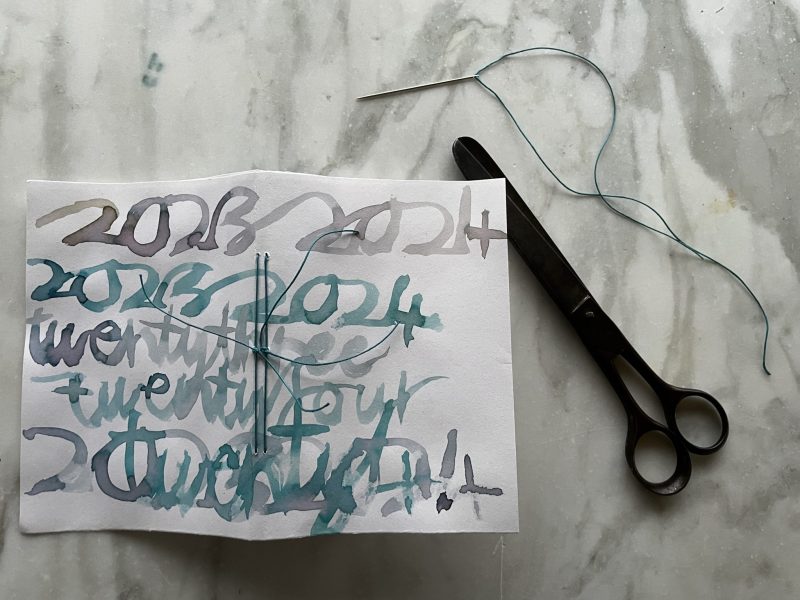
Trim the ends. I like to keep them long.
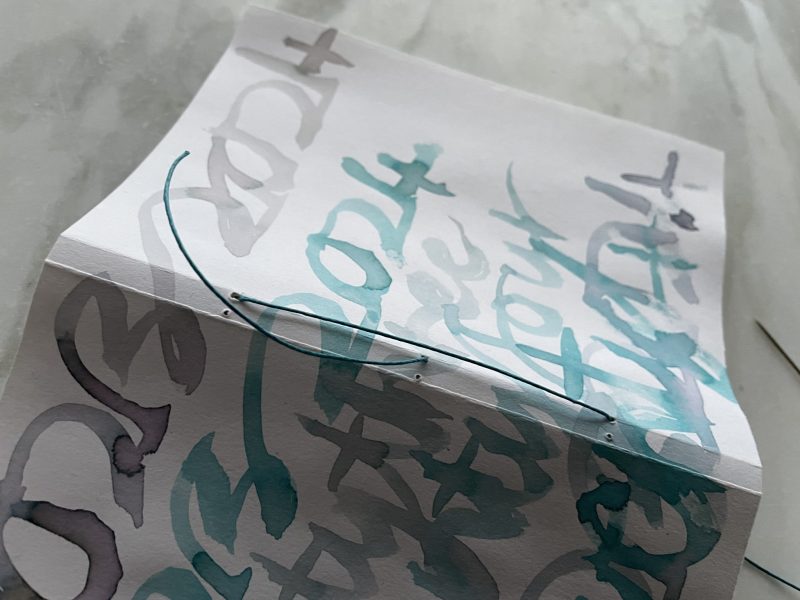
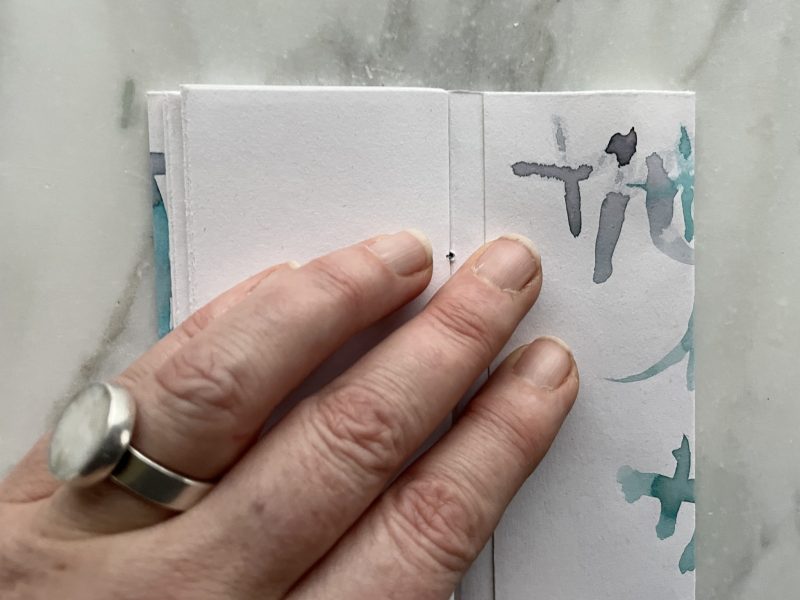
Repeat the three hole pamphlet stitch with the second signature, using the remaining three holes.
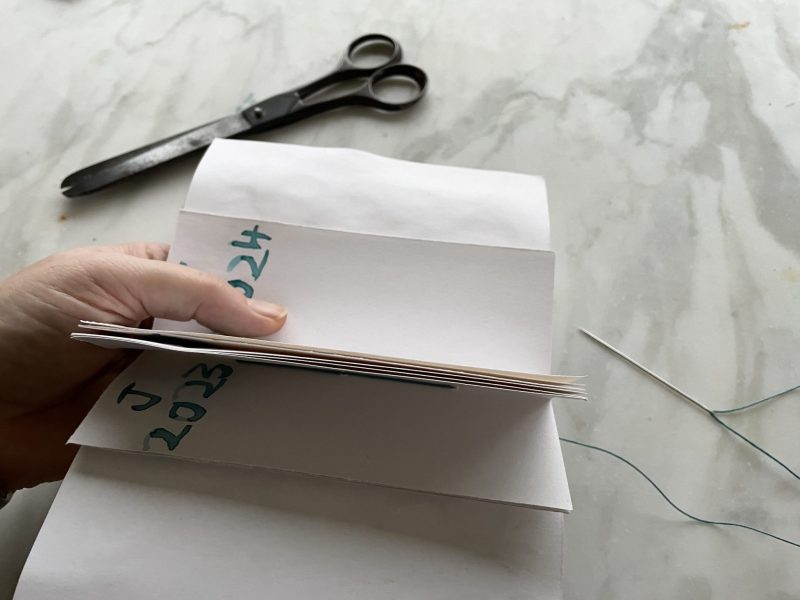
It will nestle in next to the first.
Nearly there!
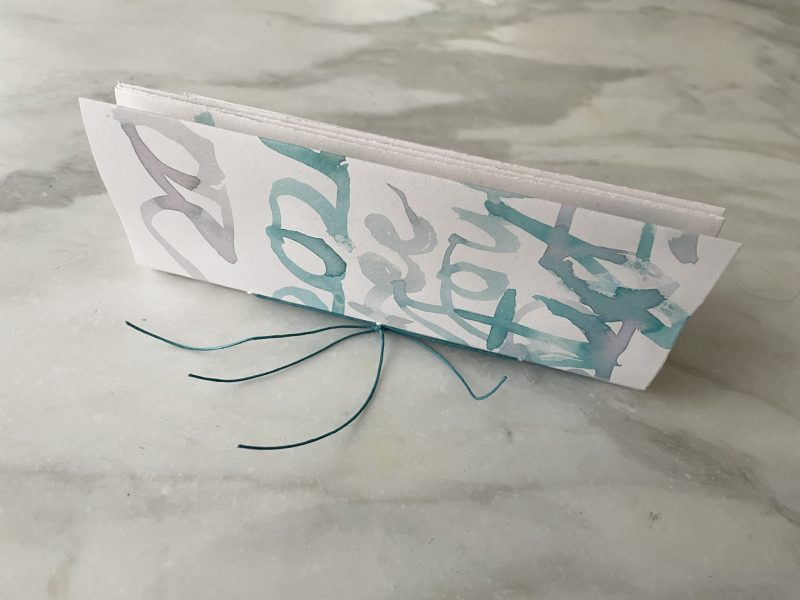
Tie off as before.
So there you have a good strong binding.
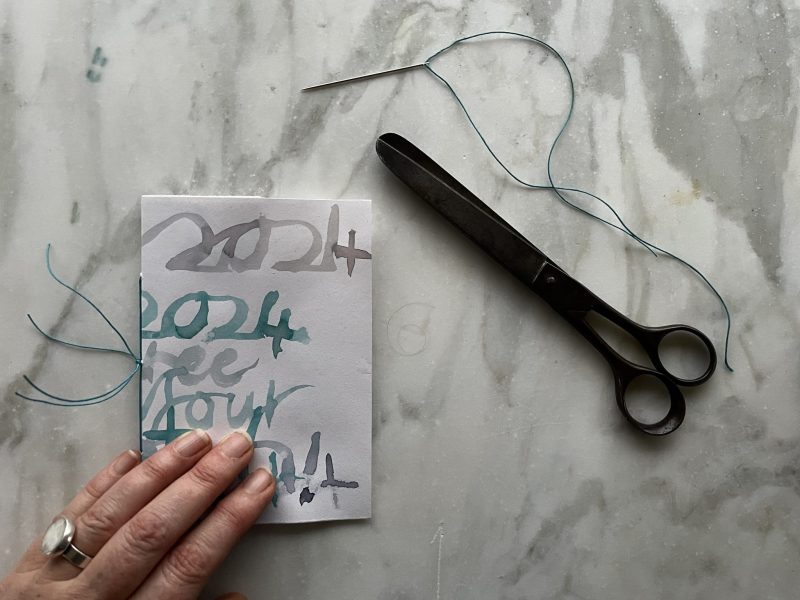
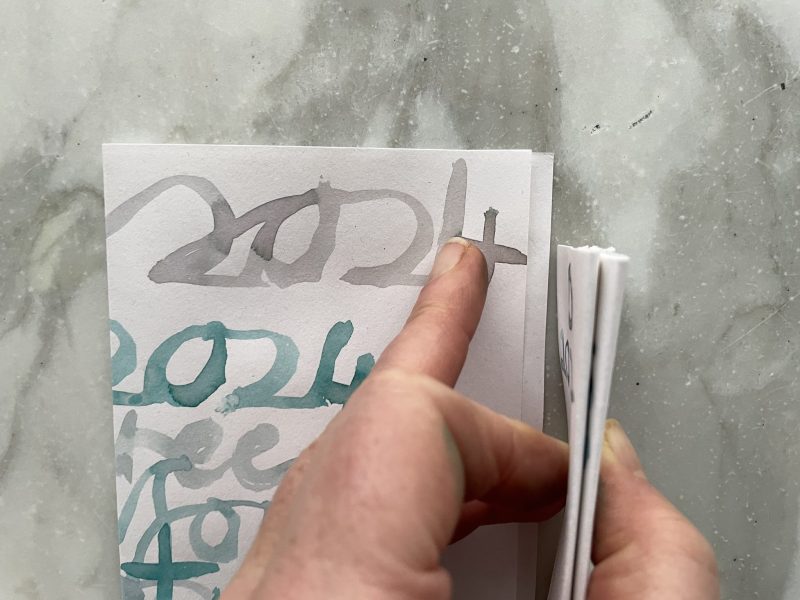
Now to fold in the flaps. Lay your book flat.
Gently lift the front cover and make a mark with your fingernail just where you want the fore-edge to sit.
And fold it in.
Do the same on the other cover.
Lovely.
Now your notebook is ready to fill. The narrow pages are perfect for lists and minimalist poetry.
Enjoy putting pen to paper, getting your thoughts and impressions in ink!
Please do share how you get on: E-mail us or tag @paperhazell
Dear Rachel,
Oh oh oh! I love this idea! I have a yearly ritual of making December 31st all about reviewing the year past. It’s a very nostalgic practice where I celebrate the wins and honour the ouches. I then shift my energy into what I would like to create/dream up for the New Year. This book is a great way to summarize each month with a few words. I’m such a fan of watercolours and brush lettering so the cover is a perfect fit for this exercise. Thank you so much for sharing this wonderful idea!!!
Wishing you a Merry Christmas and a Creative and Happy New Year.
Annie
My daughter and I made these last night and it was such fun. She’d never made a book before and this was a perfect first project. Thanks for sharing. Happy new year!
SO proud of you both! Thank you thank you!